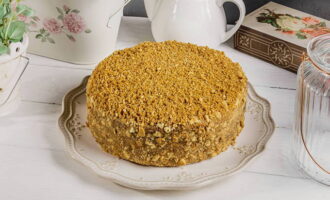
- Thick sour cream for sponge cake at home
- A simple and quick recipe for curd-sour cream cake
- Thick sour cream with condensed milk
- Custard sour cream for cake at home
- Step-by-step recipe for making sour cream with gelatin
- How to make simple sour cream with powdered sugar at home
- Creamy sour cream cake at home
- Cream for cake made of sour cream 20 percent fat
- A simple and delicious recipe for sour cream butter cream for cake
- Thick sour cream-chocolate cake cream
Thick sour cream for sponge cake at home
Sour cream is very versatile and also very budgetary. It perfectly impregnates biscuit cakes: the light consistency of the mass quickly penetrates the porous dough of the cakes and makes them moist and tender. Often housewives have a problem with the consistencies of sour cream - it turns out to be too liquid. If there is no desire to thicken the cream with additional additives, you can simply pre-rid the sour cream from excess serum. How to do it - read the recipe.
Cooking time: 20 min. excluding sour cream weighing time.
Cooking time: 20 min.
Servings: 400 gr. the finished cream is approximate.
- Sour cream 600 gr.
- Granulated sugar 200 gr.
- Vanillin 1 pinch
-
It is important to choose the right sour cream. To do this, pay attention to its fat content. We buy a product with at least 20% milk fat. It is even better if it is homemade thick sour cream, which can be purchased, perhaps, only in the markets. Cover the bowl with a double layer of gauze or a thin cotton towel. We spread the entire volume of sour cream on top. Raise the edges of the fabric - a bag of sour cream is obtained. You can hang sour cream over a bowl in a cool place overnight - this will drain the excess serum and leave a thick, delicate mass in the fabric, ideal for cream. Alternatively, the "bag" can be tied, put on the wire rack over the bowl, pressed with a small load and placed in the refrigerator - this is how excess liquid also goes well.
-
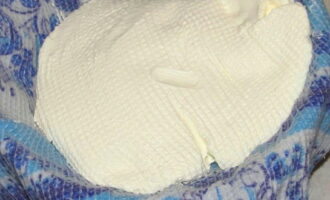
After the time for weighing sour cream has expired, unfold the fabric - the amount of sour cream inside will decrease. It is difficult to accurately predict the final weight - it depends on the composition of the product. But you should be guided by the fact that a third of the volume will go away for sure.
-
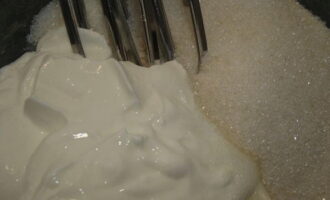
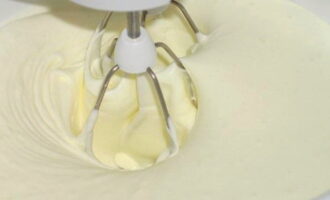
We place the weighed sour cream in a bowl for beating, add granulated sugar and begin to beat. We start at a low speed and gradually build up the revs.
-
It is worth beating for at least ten minutes. During this time, the sugar crystals will completely dissolve, and the cream will acquire a slight splendor. After beating, use the mass immediately, or cool it in the refrigerator until it is used.
Bon Appetit!
A simple and quick recipe for curd-sour cream cake
You won't have to mess around with this cream for a long time in the kitchen. While the cakes are in the oven, you can just deal with it. To make the cream taste good and uniform in consistency, use soft, delicate cottage cheese. In general, its fat content can be anything. The slightly moist, soft texture and non-acidic taste are important. But sour cream should be taken fatter - this will give the finished cream thickness and rich taste. Of course, all ingredients must be fresh.
Cooking time: 15 min.
Cooking time: 15 min.
Servings: 300 gr. the finished cream is approximate.
Ingredients:
Cottage cheese - 250 gr.
Sour cream - 4 tablespoons
Powdered sugar - 5 tablespoons
Vanilla sugar - ½ packet.
Cooking process:
- The final taste of the cream depends on the selected cottage cheese. Therefore, the product must be fresh and of high quality.If the cottage cheese seems too wet, you can pre-hang it in gauze for several hours to dry it - the excess whey will drain.
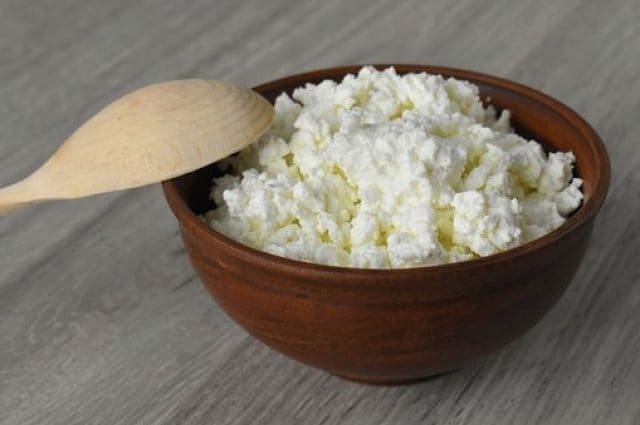
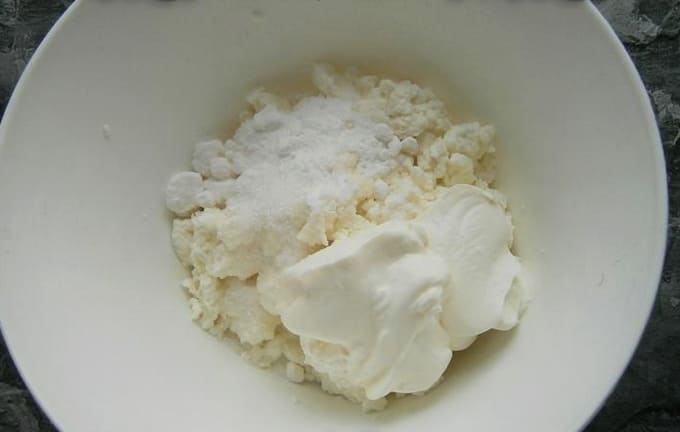
- Put cottage cheese in a bowl, immediately add sour cream, powdered sugar and half a packet of vanilla sugar to it.
- We punch through all the ingredients with an immersion blender. You can also use a mixer, but in this case it is the blender that will allow you not only to mix qualitatively, but also to thoroughly break all the curd grains. With a blender, the cream will turn out smoother, but also denser.
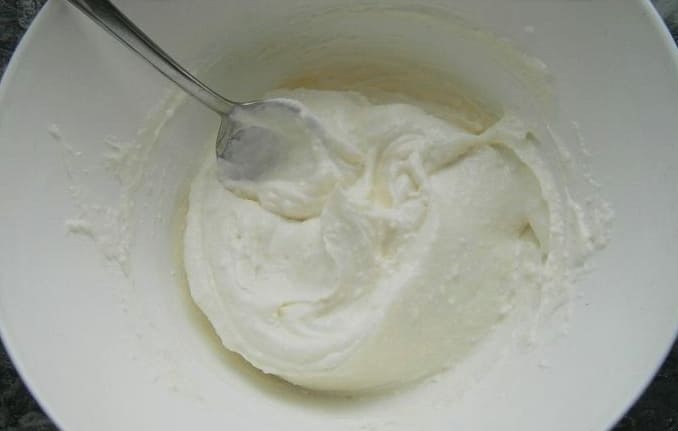
- The cream is ready - it took very little time to prepare it. The mass can be used immediately after preparation for sandwiching cake layers or filling other confectionery products. If the application is not planned immediately, then the mass must be placed in the refrigerator.
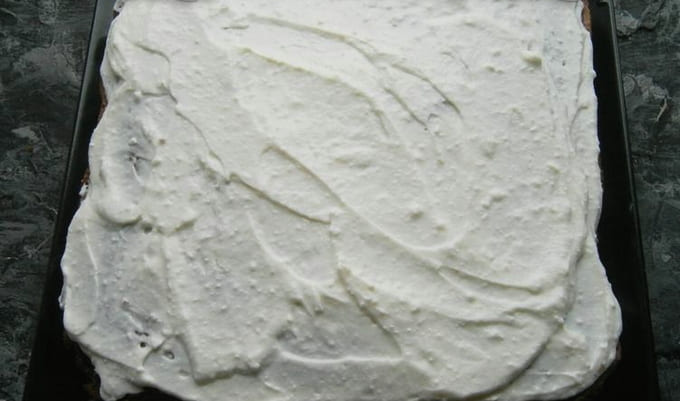
Bon Appetit!
Thick sour cream with condensed milk
This cream successfully combines the rich creamy sweetness of condensed milk and the delicate sourness of sour cream. An important point - for this recipe we use boiled condensed milk: it will provide the required thickness and contribute to the consistency density. If the sour cream is not thick enough, you can pre-hang it in gauze to remove excess serum. It will also give the cream additional shape and creamy richness.
Cooking time: 20 min. excluding the time for weighing sour cream.
Cooking time: 20 min.
Servings: 400 gr. the finished cream is approximate.
Ingredients:
Boiled condensed milk - 1 can.
Weighted sour cream - 200 gr.
Vanillin - a pinch.
Cooking process:
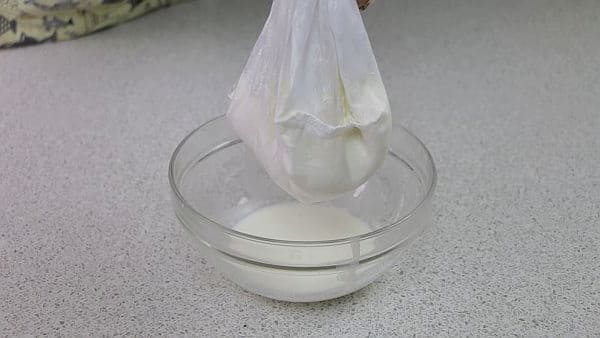
- So, for the saturation and density of the cream, sour cream can be hung in gauze, as shown in the photo, so that the excess serum is glass. It is convenient to do this at night. Do not forget that the process should take place in the refrigerator or in another cool place in order to avoid sour cream souring. If the thickness of the finished cream is not of fundamental importance, then this stage can be skipped and then mixed sour cream with condensed milk in its original form.
- Put the prepared sour cream in a bowl. Add boiled condensed milk in portions and beat everything together with a mixer after each addition. The density of boiled condensed milk is high and differs from tender sour cream. Therefore, mixing these two masses is worth a little.
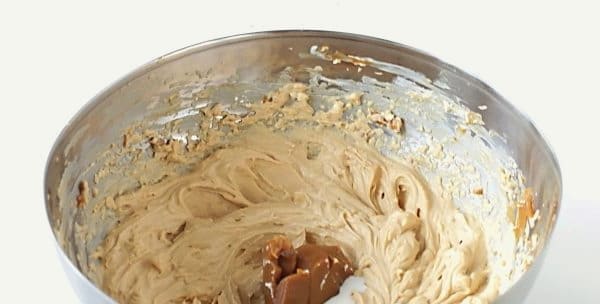
- When the entire volume of condensed milk has been added, we continue to work with the mixer at high speed for a couple of minutes. The cream should be smooth and uniform.
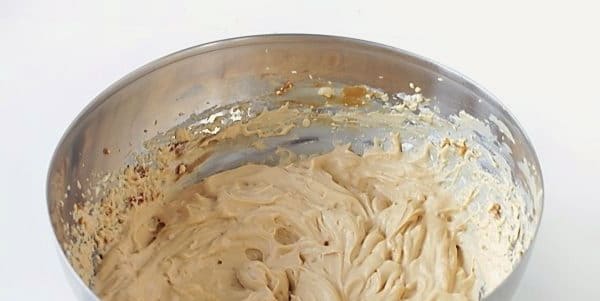
- The cream is ready. It can be used immediately after preparation. It is not too dense, but it holds its shape well and can be used on the surface of the cake. It is also great for filling eclairs and puff pastries.
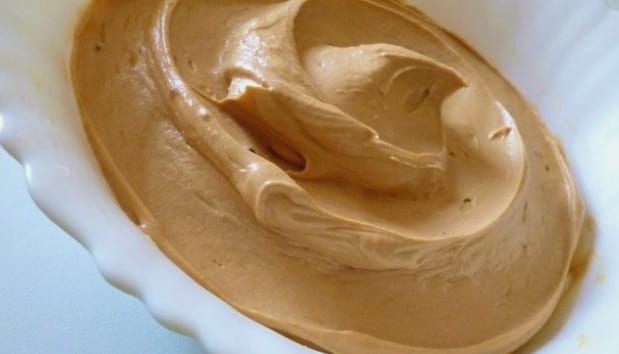
Bon Appetit!
Custard sour cream for cake at home
Usually associated with making a custard is the use of eggs, milk and starch. However, this is not the whole list of potential ingredients for a custard dessert. Sour cream can also fit very well here. It is she who gives a special "silk" consistency and subtle creamy sourness. The optimal percentage of its fat content for a delicious cream starts from 20%. You should not choose a product with a lower milk fat content - this will not give the desired saturation.
Cooking time: 25 min.
Cooking time: 15 min.
Servings: 400 gr. the finished cream is approximate.
Ingredients:
Sour cream - 300 gr.
Eggs - 1 pc.
Flour - 2 tablespoons
Granulated sugar - 120 gr.
Vanilla extract - ½ tsp
Butter - 160 gr.
Cooking process:
- Put sour cream, egg, granulated sugar, flour and vanilla extract in a heat-resistant volumetric bowl. If the latter is not there, you can use an alternative in the form of a pinch of vanillin. With a whisk, mix all the ingredients until smooth. Then we put a bowl with the resulting mass in a water bath.
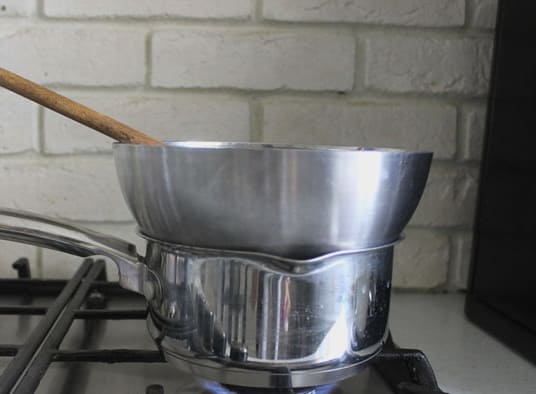
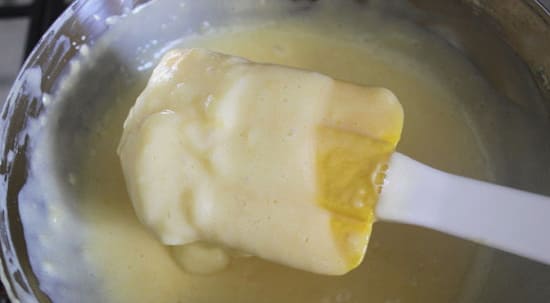
- While the mass is heating up, without stopping, we actively interfere with it with a whisk. It is important to avoid clumping.When the cream begins to thicken, we take a silicone spatula and continue to interfere with it already, passing along the walls and bottom with a soft edge in order to quickly remove the layer thickening at the walls. When the cream becomes thick throughout its mass, remove the bowl from the water bath. Let the contents cool to room temperature.
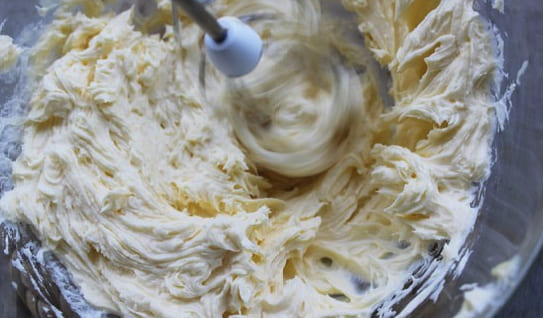
- Put the softened butter in a separate container and beat it with a mixer at high speed for a couple of minutes - we achieve whitening and splendor.
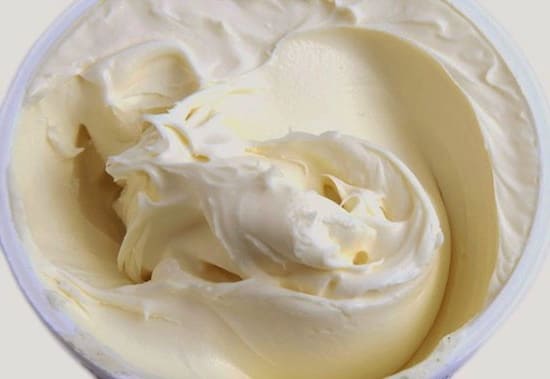
- Put the cooled custard in portions of the whipped butter, continuing to beat. When the entire volume of the custard is added, beat for another minute and stop working. We put the finished cream in the refrigerator for cooling - it should take shape slightly and become denser. The cream is ideal for leveling the surface of cakes, setting out volumetric decorations and other confectionery manipulations where stable texture and shape retention are important.
Bon Appetit!
Step-by-step recipe for making sour cream with gelatin
This cream has every chance of becoming a favorite for its softness, lightness and predictability. Even if something went wrong during the cooking process or the sour cream turned out to be not as thick as expected, the final mass will still thicken and provide a good stable layer of cream in the cake. As you might guess, the main safety net here is gelatin. For speed and convenience, we recommend using instant.
Cooking time: 25 min.
Cooking time: 15 min.
Servings - 450 gr. the finished cream is approximate.
Ingredients:
Sour cream 20% - 400 gr.
Granulated sugar - 6 tablespoons
Vanilla sugar - 1 packet.
Instant gelatin - 10 gr.
Cold water - 80 gr.
Cooking process:
- Separately, it is worth dwelling on the choice of sour cream for such a cream. Looking ahead, it is worth pointing out that the cream will in any case work out and thicken - this is the merit of gelatin. But how porous and airy it will be depends on the fat content of the sour cream. The best option would be to use a product containing 20% milk fat.

- Place the gelatin in a small container and fill it with the specified amount of cold water. Stir and leave for ten to fifteen minutes to swell. When the granules are swollen, put the container in a water bath and stir the gelatin until it completely dissolves and a homogeneous liquid is formed. After cooking, let it cool slightly so as not to add it too hot to the whipped sour cream.
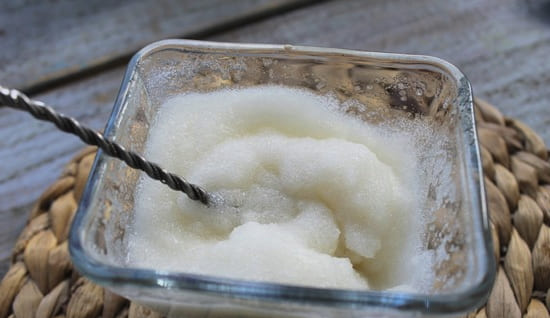
- Put cold sour cream in a bowl, add granulated sugar and vanilla sugar. We begin to whisk the ingredients. The sugar crystals should dissolve, and the volume of the mass should double. If the sour cream is of high quality, the mass will turn out to be noticeably lush.
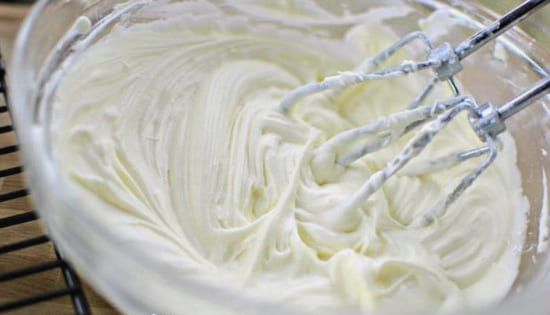
- Pour slightly cooled gelatin into the whipped sour cream in a thin stream, without stopping to work with a mixer. In this way, pour in the entire amount of gelatin. After that, beat the cream for a couple of minutes. The cream is ready. It can be used right away - it will spread a little, but after cooling the dessert it will definitely set. Or you can put the finished cream in the refrigerator and cool it - then it will be easier to form a high layer between the cakes.
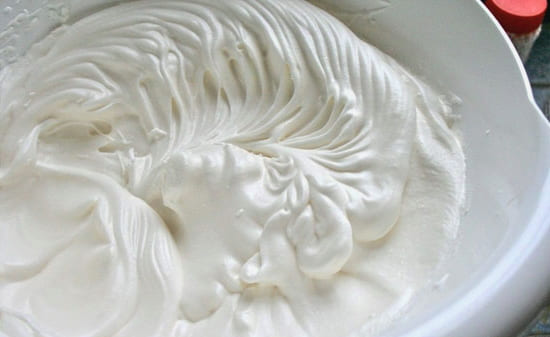
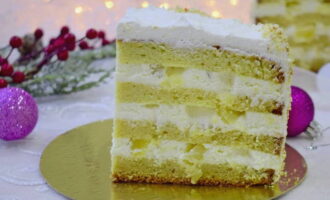
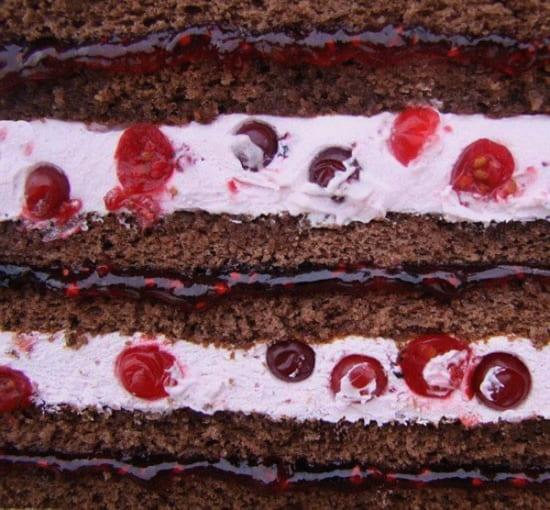
- The cream looks very beautiful on a cut in ready-made cakes: it is dense and porous, somewhat similar to a soufflé. The mass perfectly retains berries and pieces of fruit - this is a lot of room for confectionery fantasies.
Bon Appetit!
How to make simple sour cream with powdered sugar at home
Simple, popular and everyone's favorite cream for cakes and more. Its delicate soft taste is seamlessly combined with baked goods made from any dough, and its light consistency allows it to be well absorbed into the cakes and make the cakes especially juicy. To make sour cream thick without third-party additives, if there is a little secret: you need to hang sour cream in gauze for several hours. Some of the whey will drain, and the sour cream will become much thicker, denser and at the same time richer in taste.
Cooking time: 20 min.
Cooking time: 20 min.
Servings - 400 gr. the finished cream is approximate.
Ingredients:
Weighed sour cream 20% - 400 gr.
Powdered sugar - 150 gr.
Vanillin - a pinch.
Cooking process:
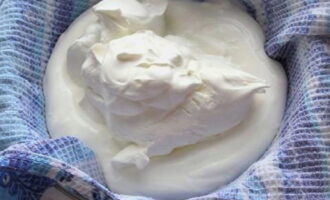
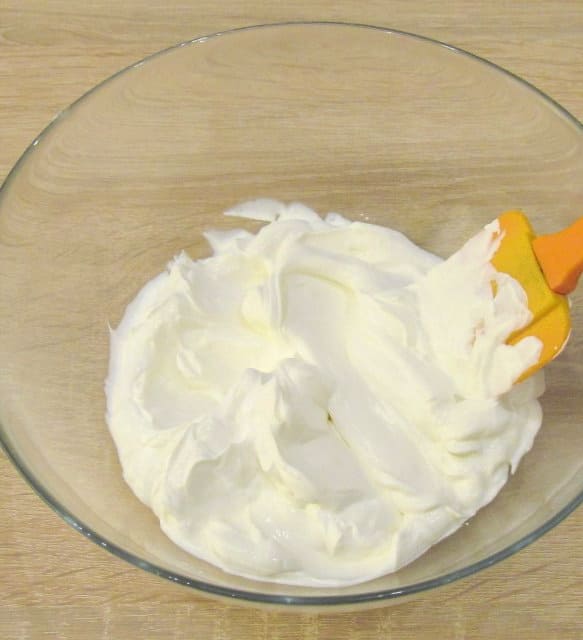
- So, we put the sour cream weighed out of excess whey in a bowl. You can immediately see how dense and thick it has become.
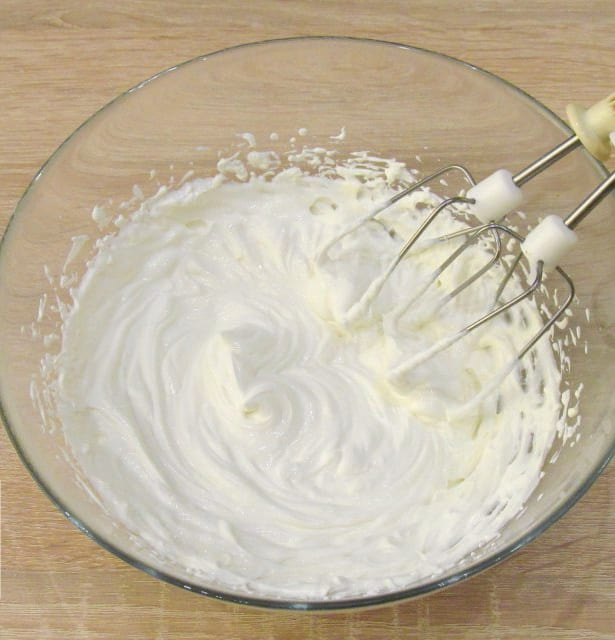
- Beat the sour cream with a mixer at high speed. We work for two to three minutes to add oxygen to the mass and make it more lush. You can see how the volume of sour cream has increased slightly.
- Pour icing sugar and vanillin into whipped sour cream. You should not use sugar instead of powder - there is a risk of leaving the sugar crystals undissolved. In addition, the cream is more delicate with powder.
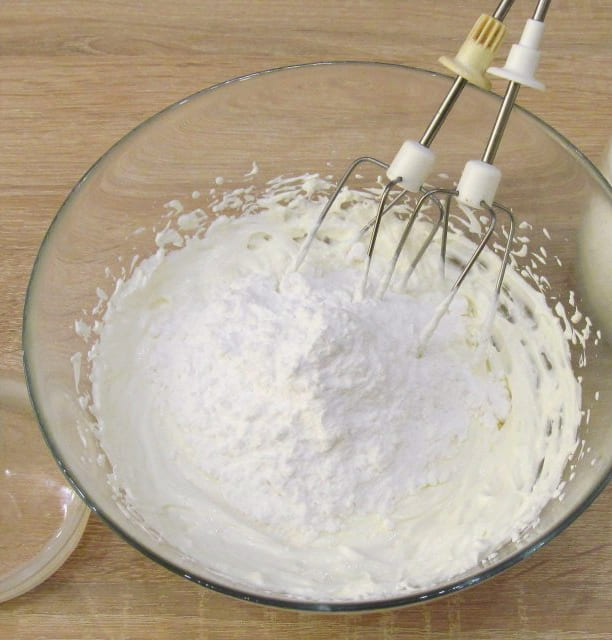
- Beat everything together long enough - five to six minutes. In the process, you will notice that at first the mass was liquidish, but over time it became much thicker.
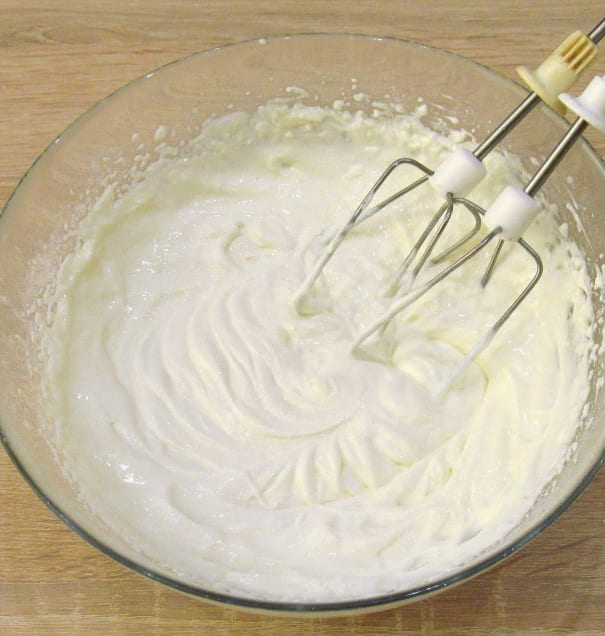
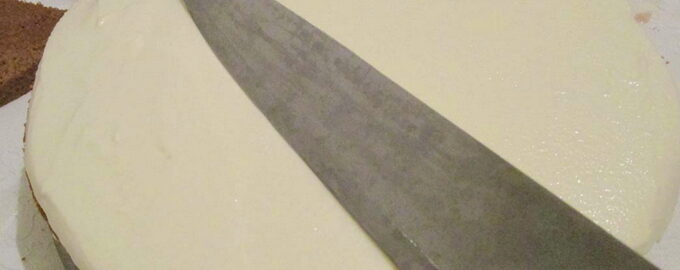
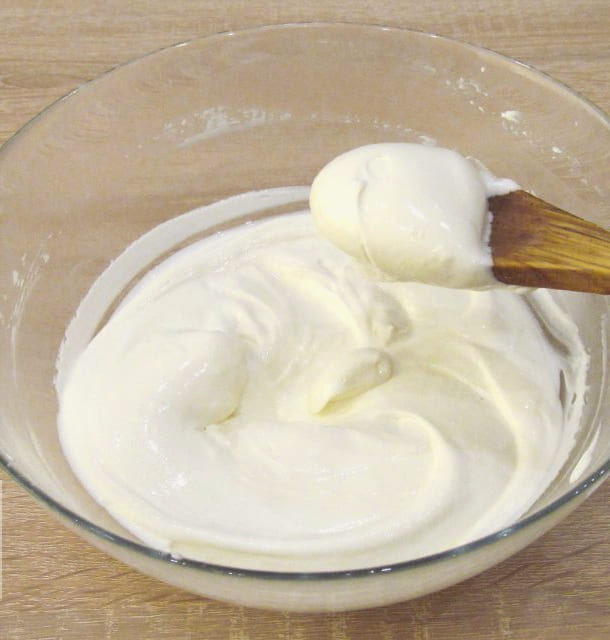
- The finished cream becomes thick enough for the layer of cakes. It keeps the layer size between the cakes. But such a cream is not suitable for depositing volumetric decorations on the surface of baking - the figures and patterns will float. You can smear the surface of the cake with cream - some will be absorbed, and some will remain a light layer on top. For a full-fledged alignment, it is worth looking for another option.
Bon Appetit!
Creamy sour cream cake at home
If a specific sourness bothers you in ordinary sour cream, then you should like this option with the addition of cream. Gentle cream balances the sour cream with its mild flavor and adds extra pomp. Subject to the proportions and conditions of preparation, the cream turns out to be quite thick and very delicate. It is not suitable for leveling the cake because of its soft consistency, but it will be ideal for sandwiching cakes and impregnating cakes.
Cooking time: 15 min.
Cooking time: 15 min.
Servings - 800 gr. the finished cream is approximate.
Ingredients:
Weighted sour cream - 600 gr.
Cream 30-33% - 300 gr.
Powdered sugar - 250 gr.
Cooking process:
- To get 600 grams of weighed sour cream, you need to use approximately 800 grams of sour cream in its original form. The product must be fresh, without herbal additives and with a fat percentage of at least 20%.
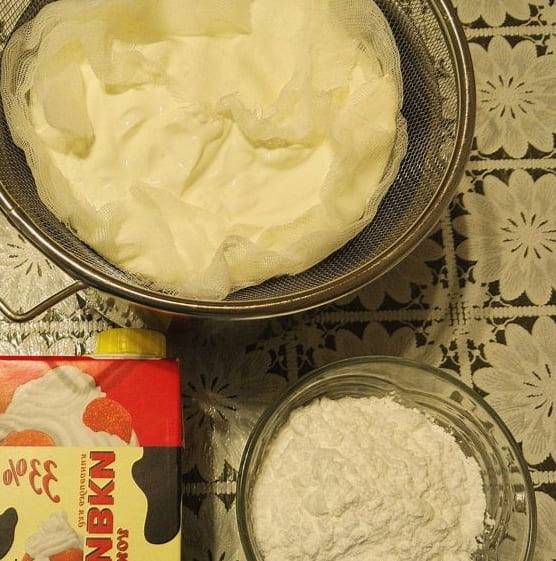
- To weigh the sour cream, put a colander in a bowl, put cheesecloth folded in two layers on it. We send the entire volume of sour cream to the fabric at once. Cover the surface with the edges of the gauze, slightly lifting them, and remove the entire structure in the refrigerator. After four to six hours, some of the whey will go away, and the sour cream in the gauze will become thicker and richer.
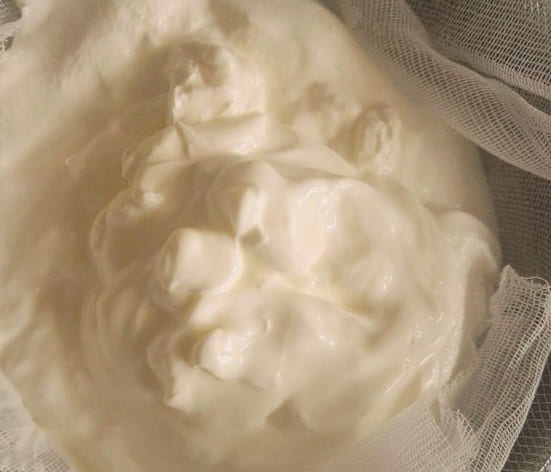
- Put weighed sour cream, well-chilled cream and powdered sugar in a mixing bowl. It is not recommended to replace the latter with sugar, since there is a risk that not all sugar crystals will dissolve. In the finished cream, this is fraught with crunching of grains on the teeth - little pleasant.
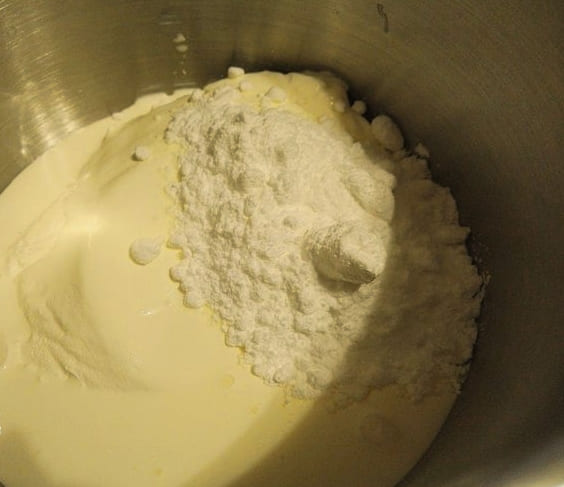
- Begin to beat the ingredients with a mixer at low speed and gradually increase the speed. We work for about four to five minutes - you get a lush, smooth mass.
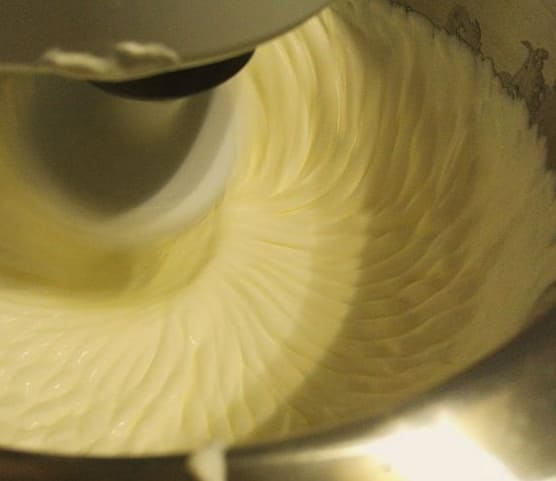
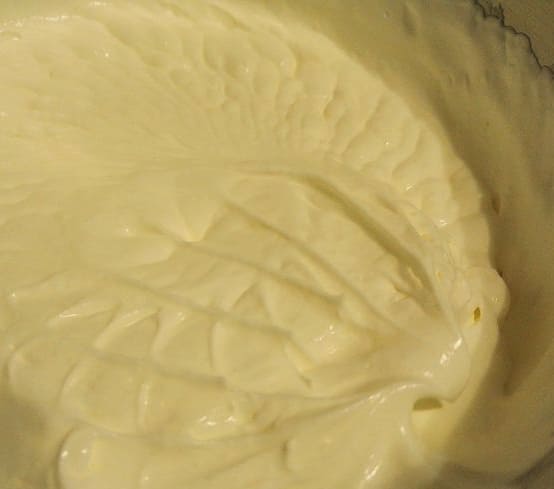
- When the cream starts to leave traces of the whisk, stop beating so as not to disturb the structure of the delicate mixture. With the finished cream, you can immediately soak the cake layers or put it in the refrigerator until you use it.
Bon Appetit!
Cream for cake made of sour cream 20 percent fat
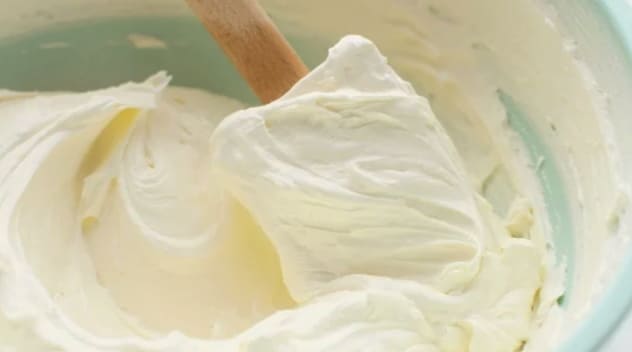
With just two ingredients, you can make a delicious cake cream. It's about sour cream and powdered sugar. The optimum fat content for such a cream is 20%. The whole feature of the preparation of the cream is the process of preparing the sour cream. It needs to be weighed - to remove part of the whey from the total mass of the product. In an already weighed state, sour cream turns out to be thick and dense, and all that remains is to beat it with powder for a few minutes.
Cooking time: 10 min. excluding sour cream weighing time.
Cooking time: 10 min.
Servings - 460 gr. the finished cream is approximate.
Ingredients:
Weighed sour cream - 500 gr.
Powdered sugar - 250 gr.
Cooking process:
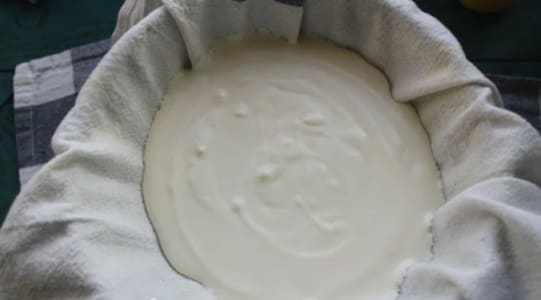
- So that by the time the cream is prepared you already have ready weighed sour cream, it is worth doing this manipulation in advance. It is convenient to leave sour cream to remove excess serum overnight, and in the morning you will already have a ready-made mass for the cream. To begin with, put a colander or a suitable sieve in a bowl. We put a two-layer gauze on it or an ordinary clean cotton towel. Pour sour cream on top of the fabric.
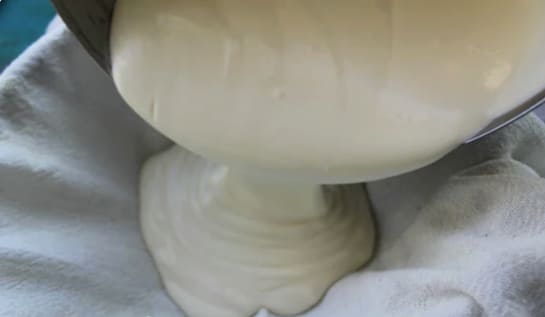
- The weight of the sour cream will be distributed according to the volume of the colander.
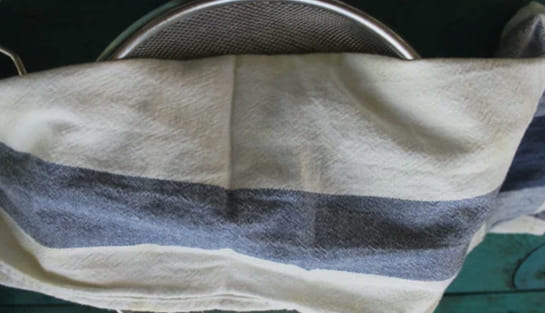
- Raise the edges of the towel and fold them on the surface in the form of an envelope.
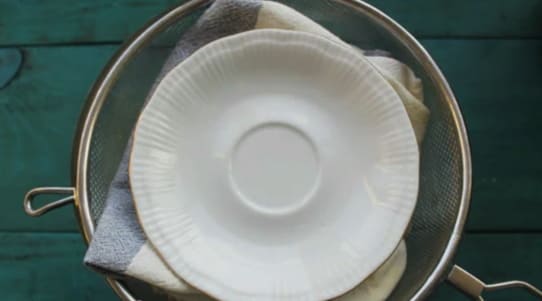
- Place a small weight on top of the folded edges of the fabric. It might just be a suitably sized plate. We put the entire structure in the refrigerator and leave it for several hours or overnight.
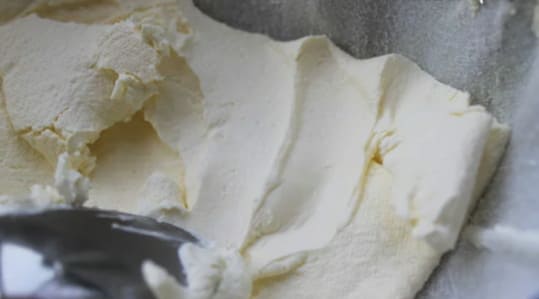
- After the specified time has elapsed, we take out the bowl with the colander, unfold the towel and see a thick dense mass - the sour cream has released excess whey and has become much thicker.
- We place the weighed sour cream in a bowl for beating, add the entire volume of powdered sugar at once. Beat the ingredients with a mixer at high speed until the powder dissolves and the cream becomes smooth and a little more fluffy. Whipping will take approximately five to six minutes. With the finished cream, you can immediately sandwich the cake cakes or put it in the refrigerator until you use it.
Bon Appetit!
A simple and delicious recipe for sour cream butter cream for cake
Sour cream butter cream is good because it has a very rich creamy taste and can keep its shape. Great for layering biscuits and puff cakes. Such a cream can be made even if there is no mixer in the kitchen: the mass will still thicken and be dense enough to work with the cake. An important condition is that sour cream must be of high quality and natural, without vegetable impurities. The same requirement applies to butter.
Cooking time: 20 min.
Cooking time: 20 min.
Servings - 1 kg. ready-made cream.
Ingredients:
Sour cream - 800 gr.
Butter - 200 gr.
Granulated sugar - 1 tbsp.
Vanillin - a pinch.
Cooking process:
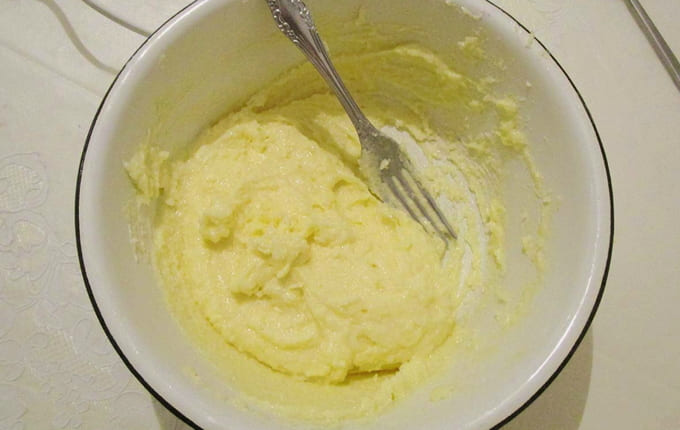
- The butter must be taken out of the refrigerator in advance and allowed to soften well. It is impossible to melt the product, as this will completely disrupt the appearance and consistency of the finished cream. Place the soft butter in a bowl, cover it with granulated sugar, add vanillin and stir thoroughly. For work, you can use a fork, hand whisk or mixer. It is important to dissolve the sugar grains almost completely. By the way, if whipping is performed with a powerful mixer, the density of the cream will be lower and a certain airiness will appear.
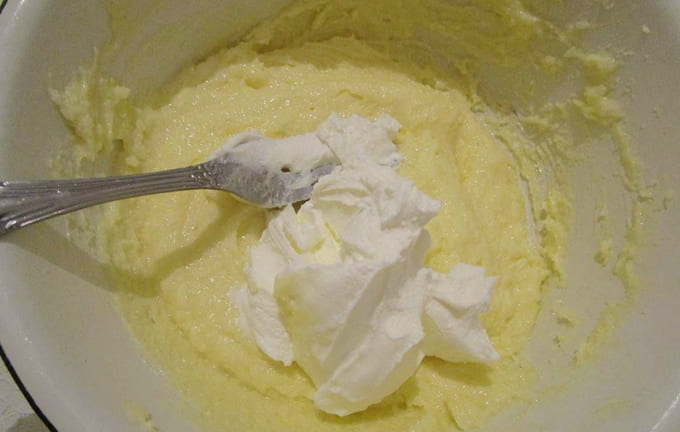
- Mix sour cream into the oil mixture in portions. You can simply mix it by hand with oil.
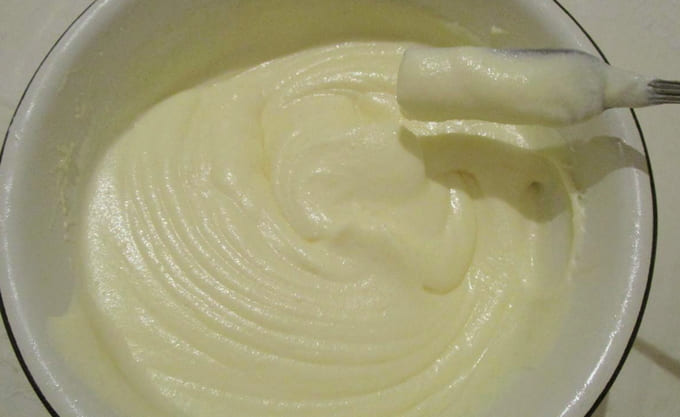
- The finished cream, regardless of the manual or machine cooking method, turns out to be homogeneous. If you run a fork over the surface, a trace should remain. After cooking, put the mass in the refrigerator for ripening. After an hour or two, the cream will noticeably thicken and can already be used to decorate the cake.
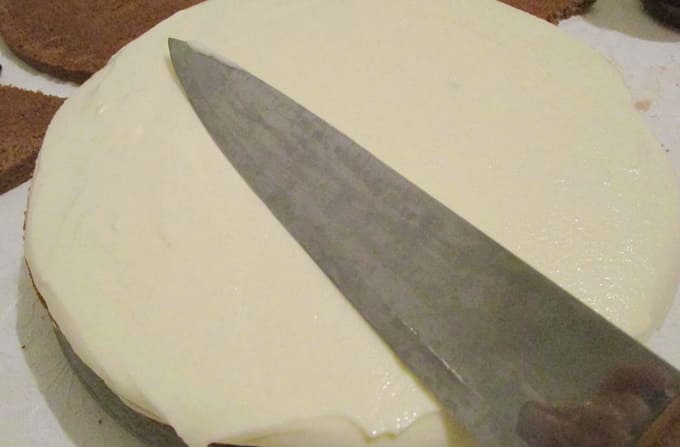
- This cream is very convenient to sandwich cakes: the mass does not "run away" from the surface, it forms a layer well. When the finished cake is cooled, the layer of such a cream takes on a pronounced and rather dense texture - the cake slice looks especially beautiful when the cake and cream have contrasting colors.
Bon Appetit!
Thick sour cream-chocolate cake cream
This cream is well suited for open-type cakes. It forms a stable layer that holds its shape perfectly even when cut. The composition includes chocolate and gelatin - this is a double guarantee of a dense cream texture. As for chocolate, personal preference should be taken into account when choosing the percentage of cocoa content. Someone likes the pronounced bitterness of cocoa more, while others like the delicate taste of milk chocolate. But it's worth knowing: the higher the cocoa content in the chocolate used, the more dense the cream will turn out.
Cooking time: 25 min.
Cooking time: 15 min.
Servings: 600 gr. the finished cream is approximate.
Ingredients:
Fat sour cream - 400 g.
Granulated sugar - ½ tbsp.
Chocolate - 200 gr.
Gelatin - 2 tsp
Water - 1/3 tbsp.
Cooking process:
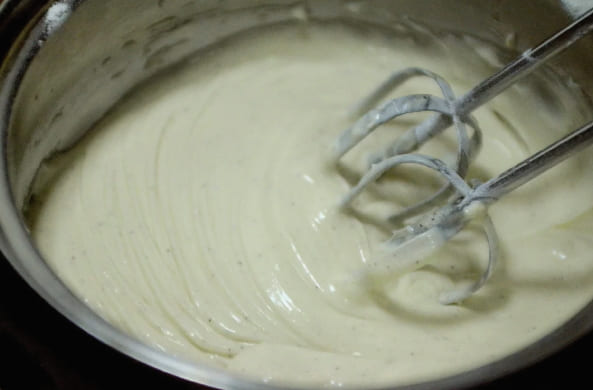
- Cool the sour cream well in the refrigerator before starting work. We place it in a bowl, add granulated sugar and begin to beat everything together at high speed. At this stage, it is important to achieve the dissolution of the sugar grains.
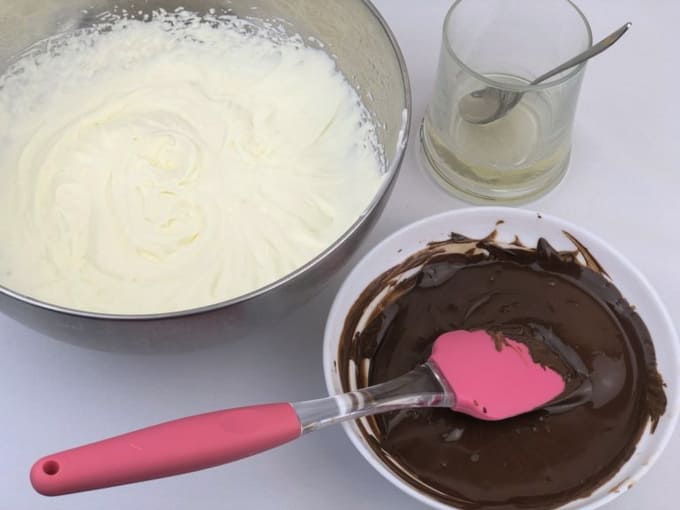
- Place the gelatin in a small container, fill it with the indicated amount of water and leave it to swell for ten to fifteen minutes. Break the chocolate into small pieces and place in a bowl. To melt it, you can use the microwave, heating it there for ten to fifteen seconds. After each heating, we take out the bowl, and stir the chocolate. Continue heating until all the food is melted. You can also place a bowl of chocolate in a water bath and melt it on the stove to visually control the process.
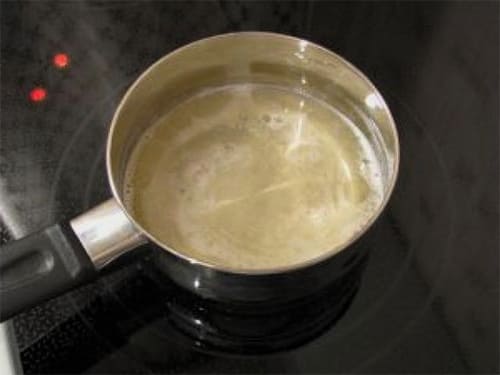
- We put the swollen gelatin on the stove and, with constant stirring, bring it to a homogeneous liquid state. In no case do we allow the mass to boil. When the liquid is completely homogeneous, remove the container from the stove and let the contents cool to a warm state.
- Add melted and already slightly cooled chocolate to a bowl of whipped sour cream in two or three steps and mix well with a whisk until smooth. Lastly, pour in the prepared gelatin in a thin stream, mix well.
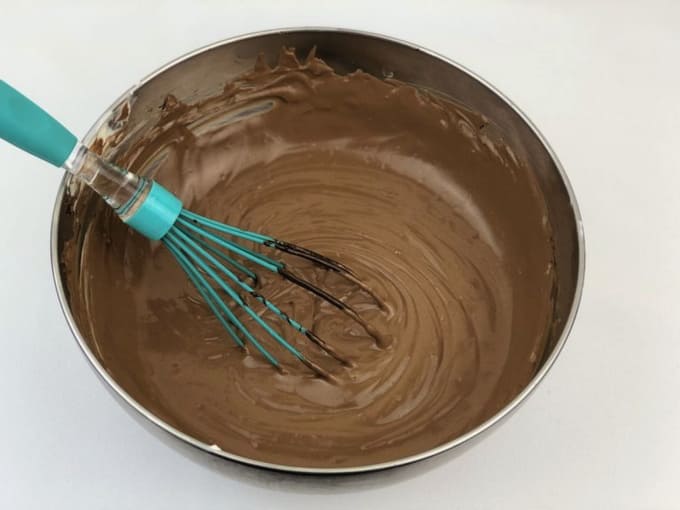
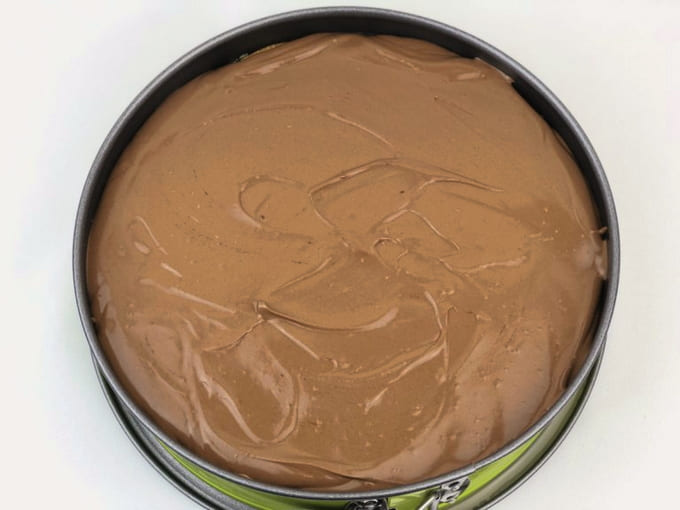
- The cream is ready. Already now, without cooling, it keeps its shape. They can both sandwich cakes and form a creamy layer of tart. After the cream is used in the product for its intended purpose, we put the dessert in the refrigerator. After a couple of hours, the mass will set well and become dense.
Bon Appetit!

