- Lush sponge cake in a slow cooker
- How to make a delicious chocolate sponge cake in a slow cooker
- Classic sponge cake in a multicooker Redmond
- Air sponge cake on boiling water at home
- Step-by-step recipe for making a fluffy sponge cake on kefir
- A simple and delicious recipe for honey sponge cake in a slow cooker
- Lush sponge cake in a multicooker Polaris
- Step-by-step recipe for making biscuit with apples in a slow cooker
- Airy chiffon sponge cake cooked in a multicooker
- Homemade sponge cake with lemonade in a slow cooker
Lush sponge cake in a slow cooker
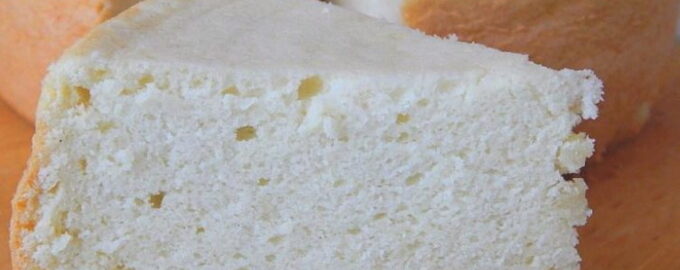
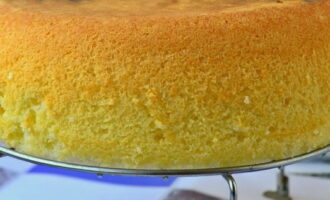
A sponge cake in a slow cooker according to this recipe always turns out to be lush and juicy. It is interesting that if we compare the alternative version from the oven, then the difference in the moisture content of the finished product immediately becomes noticeable - in a multicooker the biscuit will never turn out dry. And to make the baked piece easier to cut into cakes, it is necessary to let the biscuit "ripen" - leave it at room temperature for four to five hours. The moisture is optimized and the crumb becomes more stable.
Cooking time: 60 min.
Cooking time: 25 min.
Servings: 6.
- Chicken egg 4 PCS.
- Flour 1 Art.
- Granulated sugar 1 Art.
- Vanillin 1 Art.
- Lemon acid 1 pinch
- Butter for lubrication
-
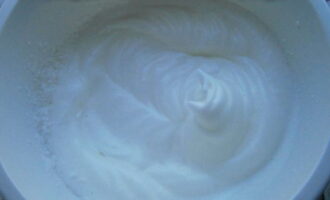
To prepare the dough, break the eggs and separate the whites from the yolks. We place the proteins in a volumetric container, add citric acid and beat them with a mixer at high speed. We work with a mixer until a dense, stable foam is obtained, leaving peaks behind the whisk.
-
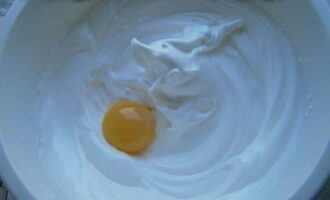
Add granulated sugar and vanilla sugar to the whipped proteins. We continue to beat until the crystals are completely dissolved. It is important to devote enough time to the whipping process - the splendor and quality of the biscuit directly depends on this. Next, add the yolk one at a time, continuing to work with a mixer. After all the yolks have been added, the mass should still remain light, with a slight beige tint, and fluffy.
-
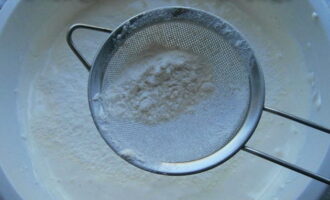
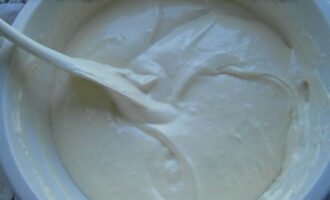
Sift the flour through a fine sieve and add small portions to the egg mass. After each addition, gently knead with a spatula or spoon in a circular motion, lifting the bottom layer of the dough up.
-
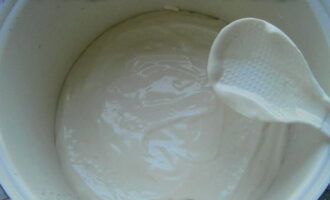
The finished dough should have a thick, but light and fluffy consistency, be completely homogeneous, without lumps and grains.
-
Grease the inner walls of the multicooker bowl with butter. Cut a circle out of parchment along the diameter of the bottom and place it in a bowl. Put the prepared dough on top.
-
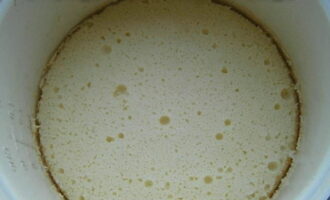
We put the bowl in a multicooker and select the “Baking” mode for 60-80 minutes. The baking time depends on the power of the multicooker. In order not to be mistaken, after forty-five minutes from the start of the program, open the device and lightly press the surface of the biscuit with your finger. If it is moist and damp, continue baking and repeat the doneness test a little later. If the dough is dry and baked, the biscuit is ready.
-
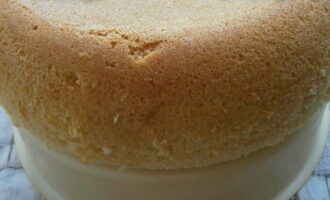
We leave the finished biscuit in the bowl with the lid of the multicooker open for seven to ten minutes. Then we separate it from the walls of the bowl, holding a thin spatula between them and the biscuit. Turn the product from the bowl onto the wire rack upside down, remove the parchment and let it cool completely.
-
Wrap the cooled baked goods in plastic wrap and stand for four to five hours at room temperature. After this time, the biscuit will become more stable and it will be easy to cut it with a foot into the required amount of cakes.
Bon Appetit!
How to make a delicious chocolate sponge cake in a slow cooker
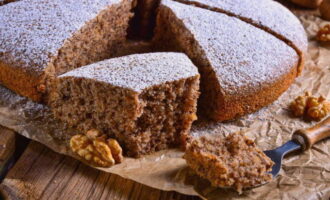
This chocolate sponge cake is a must have for lovers of lush baked goods with cocoa.It turns out to be porous, slightly moist, but crumbly, and very high! It's amazing how beautifully the dough looks when baked in a slow cooker. The technology for preparing the dough is slightly different from the classical method of kneading the biscuit mass, but the result exceeds all expectations. The baked sponge cake is ideal for cakes, and can also act as an independent delicacy in a company with icing or with a simple sprinkle of icing sugar.
Cooking time: 80 min.
Cooking time: 25 min.
Servings: 6.
Ingredients:
- Cocoa powder - 60 gr.
- Granulated sugar - 205 gr.
- Refined vegetable oil - 125 ml.
- Soda - 0.7 tsp
- Baking powder - 2 tsp
- Water - 175 ml.
- Egg yolks - 4 pieces
- Egg whites - 6 pcs.
- Flour - 200 gr.
- A pinch of salt.
- Vegetable oil for lubrication - 1 tsp.
Cooking process:
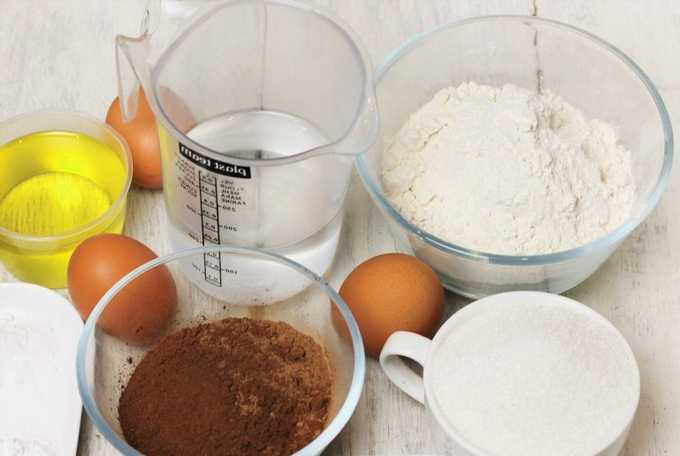
- We prepare products for making dough. Sift the flour through a fine sieve along with salt, soda and baking powder.
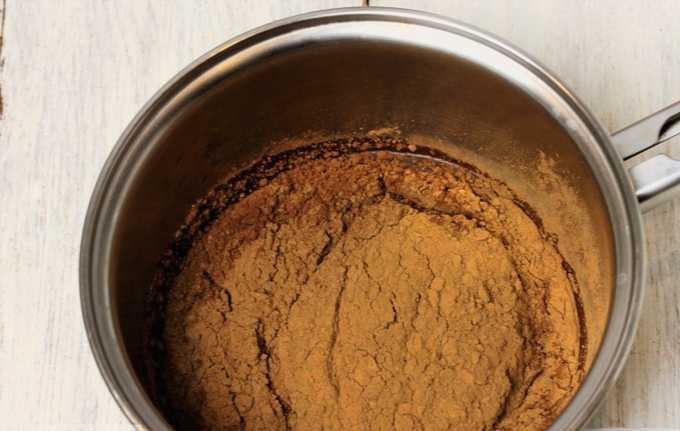
- Pour the specified amount of water into a small saucepan, add cocoa powder. We put the container on the stove and, while stirring, bring the mixture to a boil. It turns out a completely homogeneous mass. Remove the stewpan from the stove and let the contents cool completely.
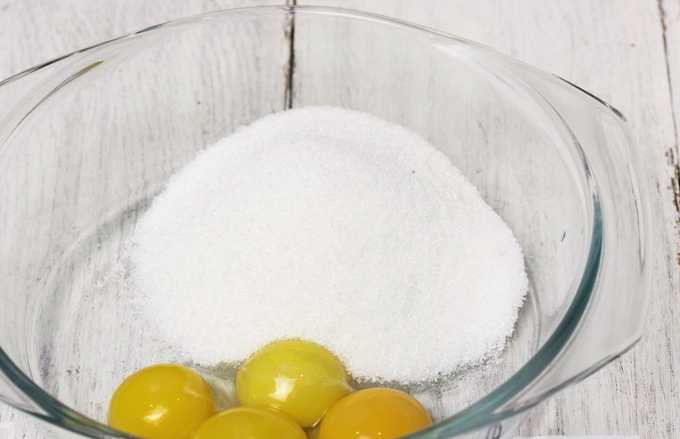
- To prepare the dough, break the eggs and separate the whites from the yolks. We place the whites in a separate container, and combine the yolks with 180 grams of granulated sugar in a bowl. Please note that we use four yolks and six whites to prepare the dough.
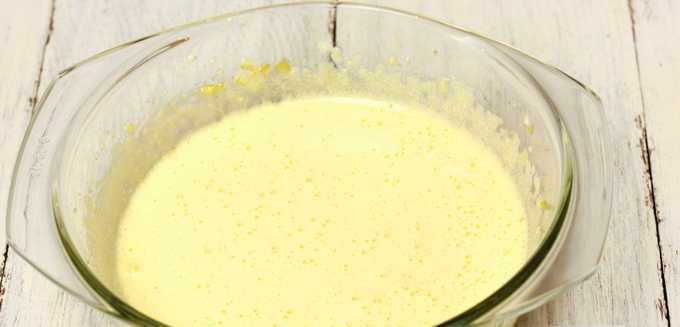
- Beat the yolks together with the sugar with a mixer at high speed. We work with whisks until you get a dense and fairly stable light yellow foam. The sugar crystals should be almost completely dissolved.
- Introduce the cooled liquid with cocoa and odorless vegetable oil into the whipped yolks.
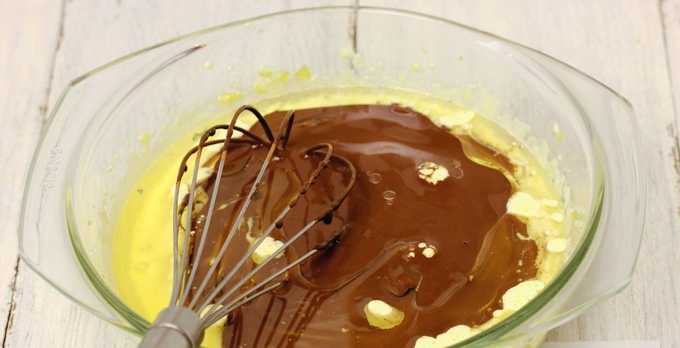
- Stir the mixture with a whisk until completely homogeneous.
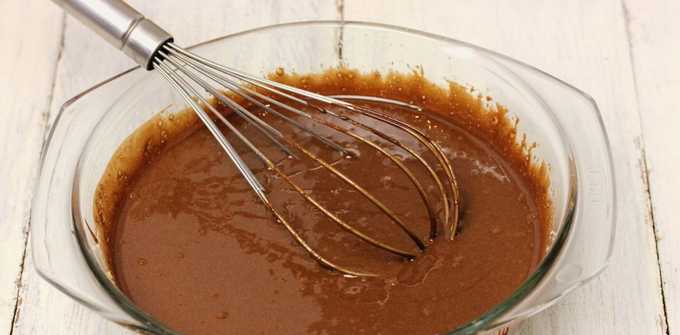
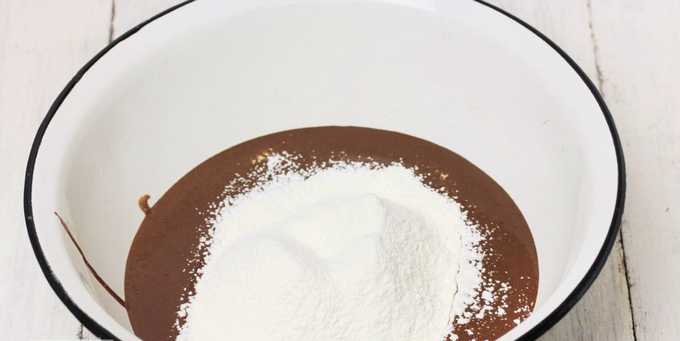
- Pour the sifted flour along with salt, soda and baking powder over the chocolate-yolk mass.
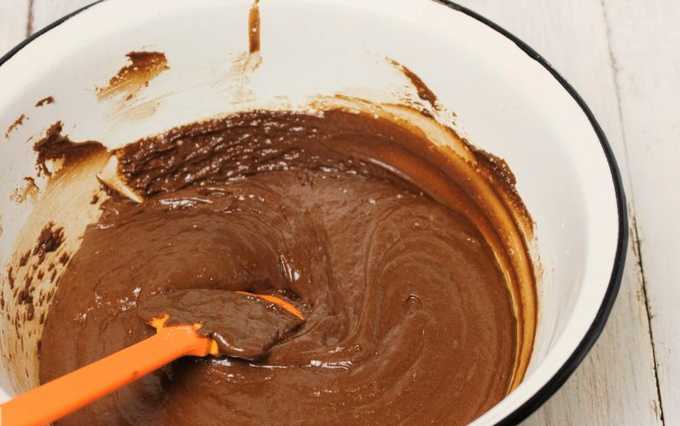
- Gently knead with a spatula or spoon in a circular motion, lifting the bottom layer of the dough up.
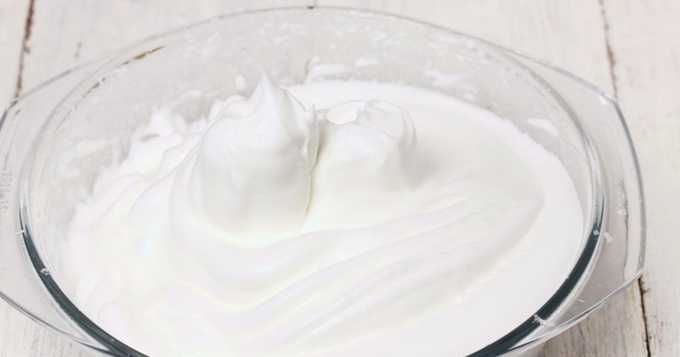
- Beat the whites separately together with the remaining sugar with a mixer at high speed into a dense foam with stable peaks.
- We introduce a third of the whipped proteins into the chocolate dough and gently mix them into the total mass.
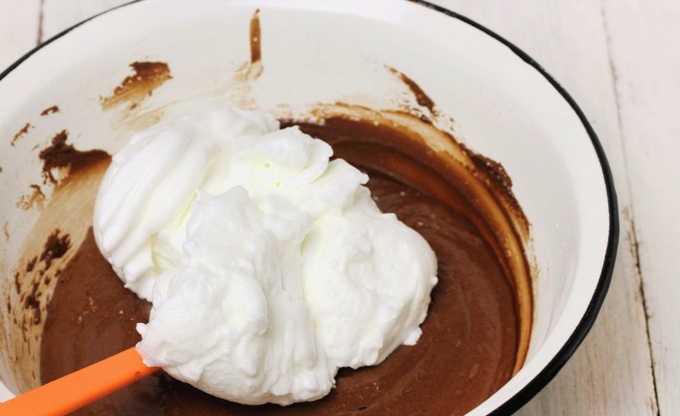
- Then add the remaining proteins and also mix them into the dough with careful circular movements. The finished mass should have a thick, but light and fluffy consistency, be completely homogeneous, without lumps and grains.
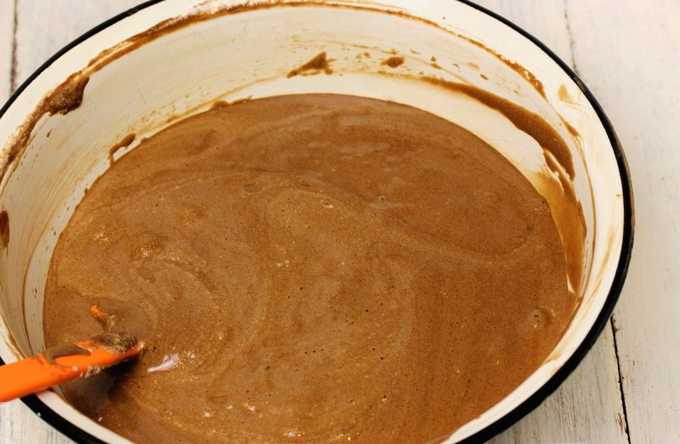
- We lubricate the inner walls of the multicooker bowl with a thin layer of vegetable oil using a silicone brush. We spread the prepared dough, level the surface.
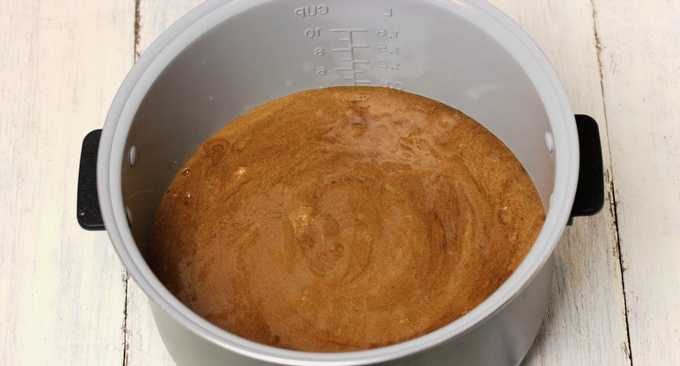
- We put the bowl in a multicooker and select the "Baking" mode for 80 minutes. The baking time depends on the power of the multicooker. In order not to be mistaken, after an hour from the start of the program, open the device and lightly press the surface of the biscuit with your finger. If it is moist and damp, continue baking and repeat the doneness test a little later. If the dough is dry and baked, the biscuit is ready.

- We leave the finished biscuit in the bowl with the lid open to cool down to a warm temperature. Then we turn the bowl along with the biscuit upside down on the wire rack and in this position we leave the baked goods for three to four hours.
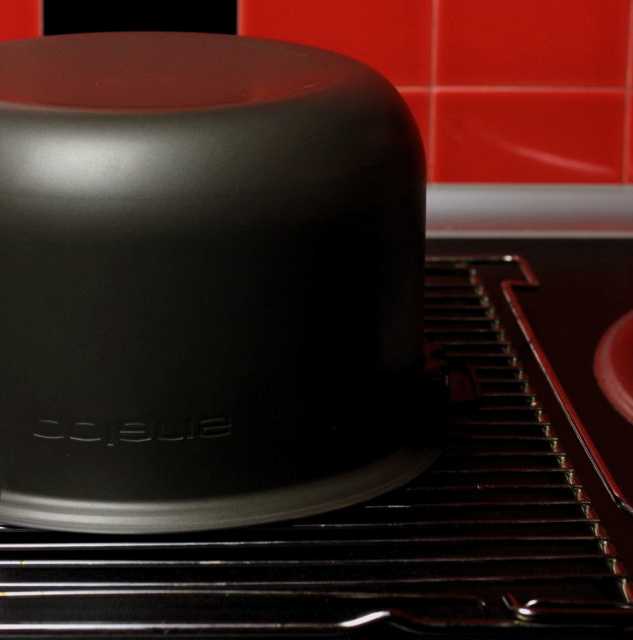
- After the specified time has elapsed, carefully separate the baked goods from the walls of the bowl, holding a thin spatula between them and the biscuit. We take out the biscuit.
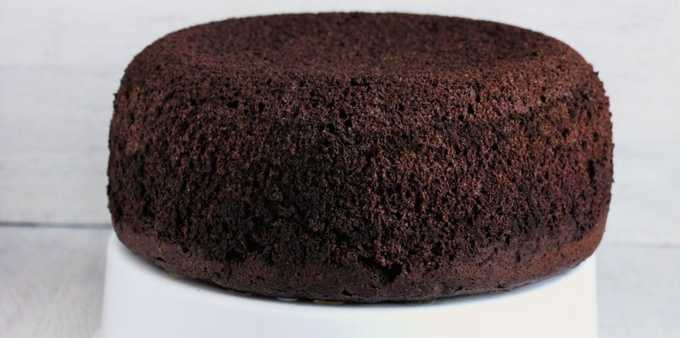
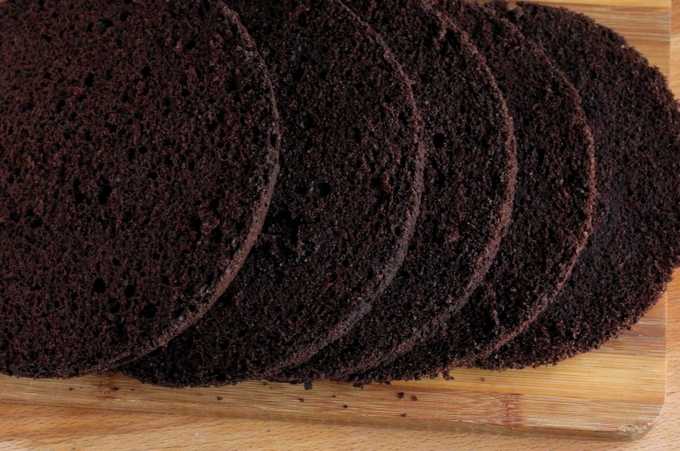
- After such a long cooling, the biscuit becomes more stable, stabilized, it is convenient to cut it with a foot into the required amount of cakes. Since the product is high, about nine centimeters, five cakes are easily obtained.
Bon Appetit!
Classic sponge cake in a multicooker Redmond
The multicooker is ideal for making biscuits. The baking conditions in the bowl are the best way to promote uniform processing of the dough - the product always rises well and becomes porous.In addition, the shape of the pastry turns out to be "correct", round - an excellent option for forming cakes. According to this recipe, we are preparing a classic biscuit in the popular Redmond multicooker.
Cooking time: 50 min.
Cooking time: 20 min.
Servings: 6.
Ingredients:
- Eggs - 4 pcs.
- Citric acid - a pinch.
- Granulated sugar - 1 tbsp.
- Vanilla sugar - 10 gr.
- Baking powder - 1 tsp
- Flour - 1 tbsp.
- Vegetable oil - for lubrication.
Cooking process:
- To prepare the dough, break the eggs and separate the whites from the yolks. We place the proteins in a volumetric container, add a pinch of citric acid and beat them with a mixer at high speed. We work with whisks until you get a dense, stable foam that leaves peaks. Add granulated sugar and vanilla sugar to the whipped proteins. We continue to whisk further until the crystals are completely dissolved. It is important to devote enough time to the whipping process - the splendor and quality of the biscuit greatly depends on this.
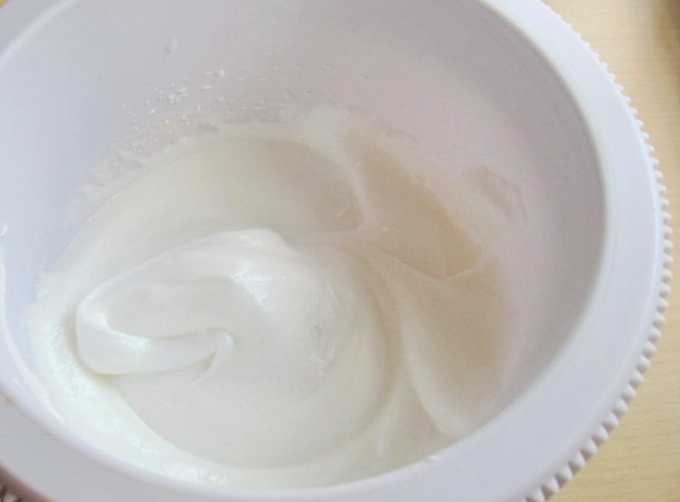
- Next, add the yolks and continue working with a mixer.
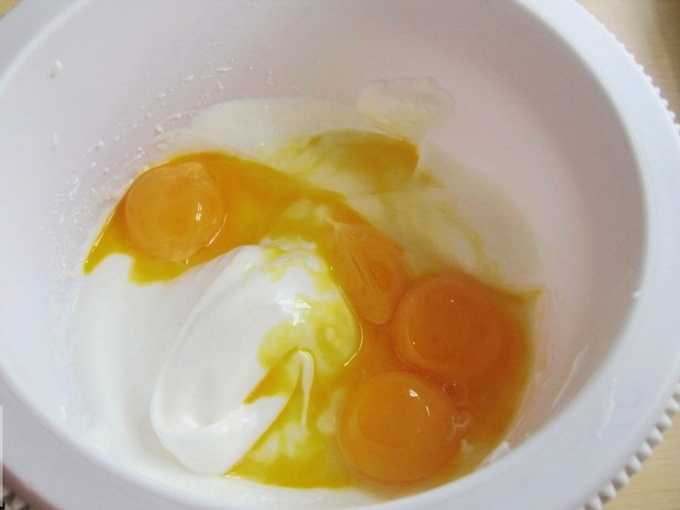
- After all the yolks are mixed with the protein foam, the mass should still remain fairly light, with a slight beige tint, and fluffy. Small air bubbles are visible on the surface.
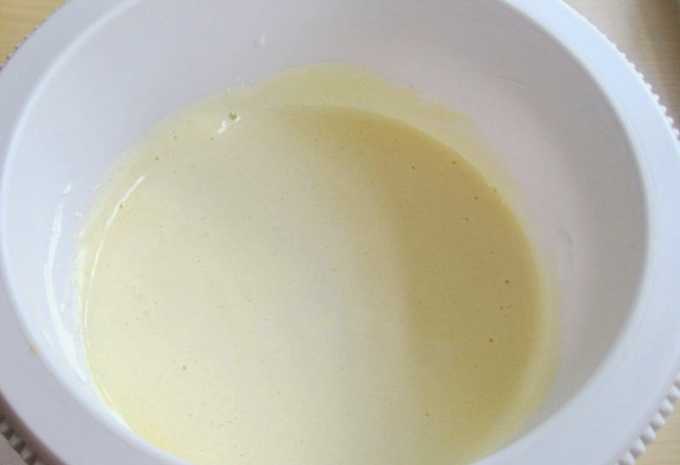
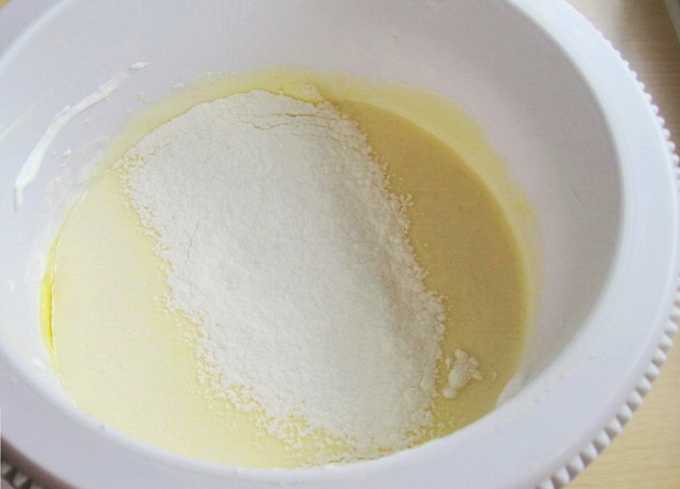
- Sift the flour through a fine sieve along with baking powder and add to the egg mass.
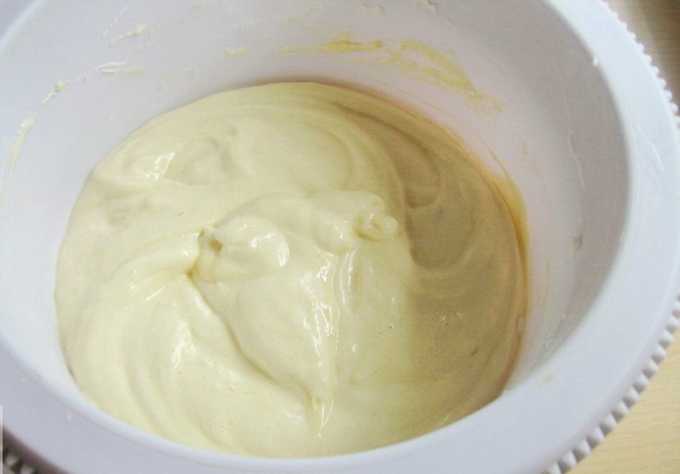
- Gently knead with a spatula or spoon in a circular motion, lifting the bottom layer of the dough up. It is important not to settle the dough, to keep the air bubbles formed during beating in it.
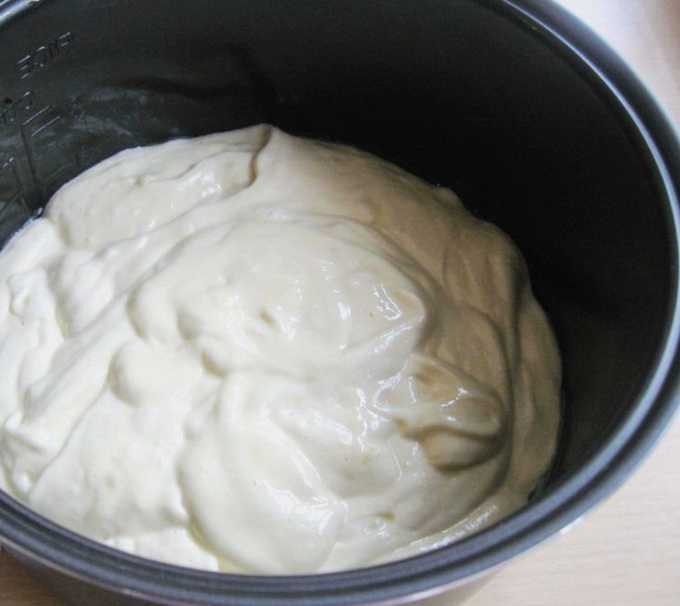
- We lubricate the inner walls of the multicooker bowl with vegetable oil using a silicone brush. We spread the prepared dough into it.
- We put the bowl in a multicooker and select the “Baking” mode for 50 minutes. After forty minutes from the start of the program, open the device and lightly press your finger on the surface of the biscuit. If it is moist and damp, continue baking and repeat the doneness test a little later. If the dough is dry and baked, the biscuit is ready.
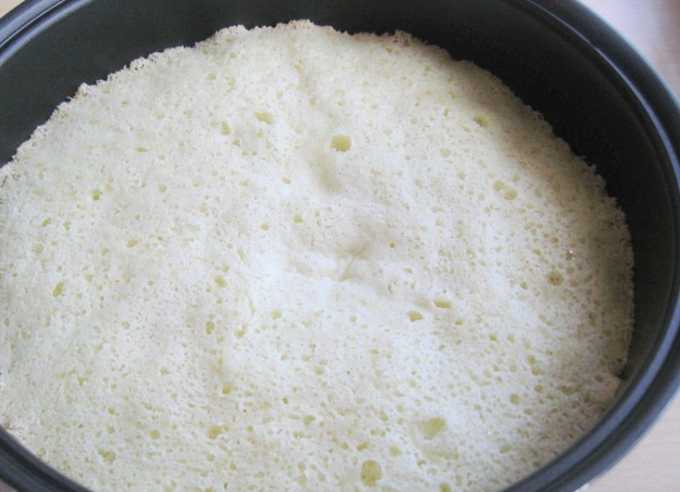
- We leave the finished biscuit in the bowl with the lid of the multicooker open for five minutes to make it easier to separate it from the walls of the bowl. Then we pass between them and the biscuit with a thin spatula. Turn the product from the bowl onto the board upside down and let it cool completely.
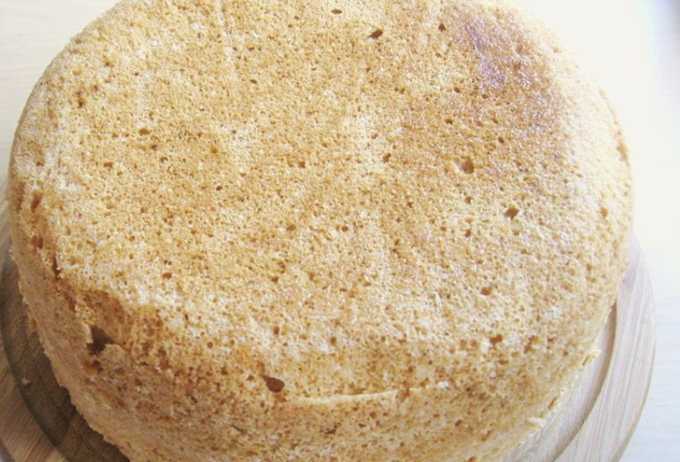
- The cooled baked goods can be used to make a cake by cutting it into several horizontal layers. You can also serve the biscuit as an independent dessert, cut into portions and sprinkle with powdered sugar for decoration.
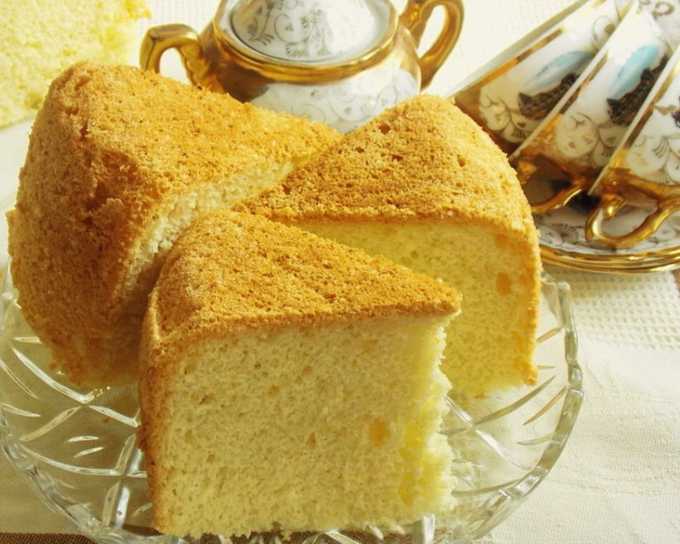
Bon Appetit!
Air sponge cake on boiling water at home
A sponge cake cooked in boiling water turns out to be airy and slightly moist. It is delicious on its own and is also ideal for cakes: the porous dough perfectly absorbs impregnations and creams and becomes very tender. The most important stage in the dough preparation process is whipping. This is the saturation of the biscuit mass with air bubbles, without which even the baking powder will not give the desired texture. Whipping by hand is very laborious, therefore it is important to have a powerful mixer: in the matter of making biscuit dough, this is already half the success.
Cooking time: 60 min.
Cooking time: 20 min.
Servings: 6.
Ingredients:
- Eggs - 4 pcs.
- Granulated sugar - 1 tbsp.
- Flour - 1 tbsp.
- Baking powder - 1 tsp
- Boiling water - 3 tbsp.
- Vanillin - a pinch.
- Vegetable oil for dough - 3 tbsp.
- Vegetable oil - for lubrication.
Cooking process:
- Break the eggs and separate the yolks from the whites. We put the latter in a volumetric bowl, add granulated sugar and vanillin. Begin to beat with a mixer at medium speed, gradually increasing the speed. We achieve a lush, thick and slightly glossy foam. The sugar crystals must completely dissolve.
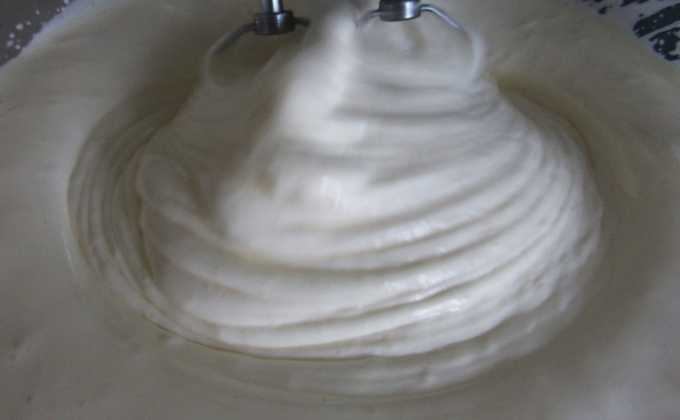
- Next, add the yolks and continue working with a mixer. After all the yolks are mixed with the protein foam, the mass should still remain fluffy, with a beige-yellow tint.
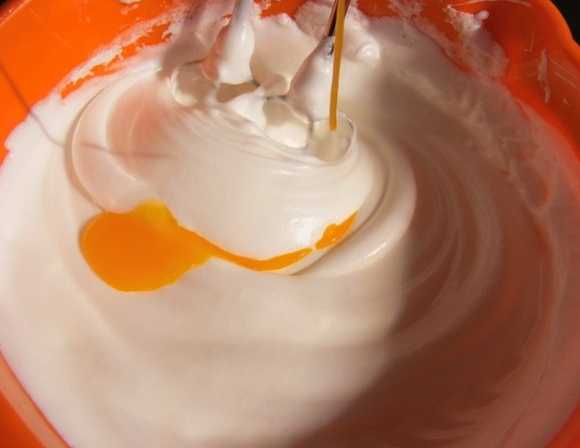
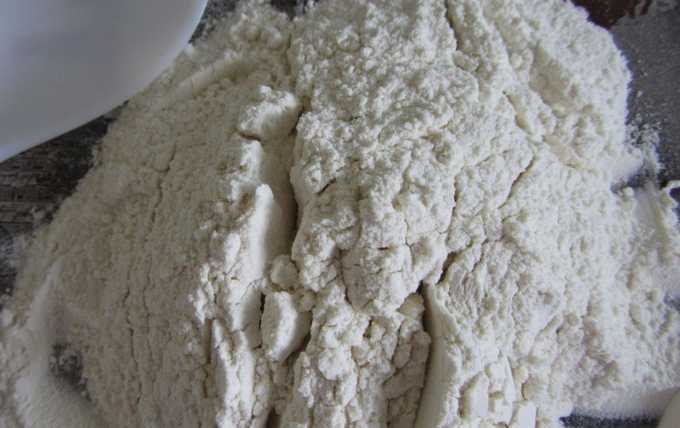
- Sift the flour through a fine sieve together with baking powder and add to the beaten egg mass.Slowly, in a circular motion, knead the dough with a spatula or spoon, lifting its bottom layer up. It is important to keep the air bubbles formed during whipping in the dough, but at the same time to break all the flour lumps.
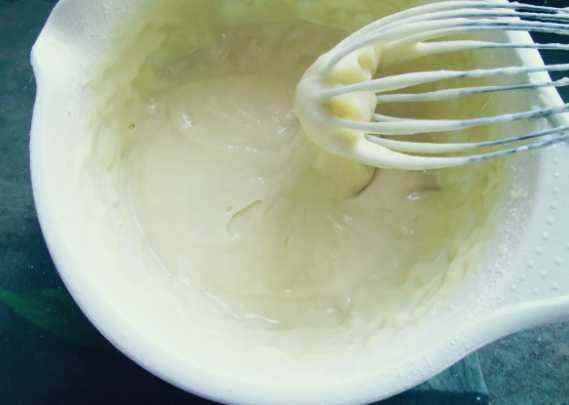
- When the mass becomes homogeneous, pour boiling water into it and mix in the same circular motion. Next, pour in refined vegetable oil, mix.
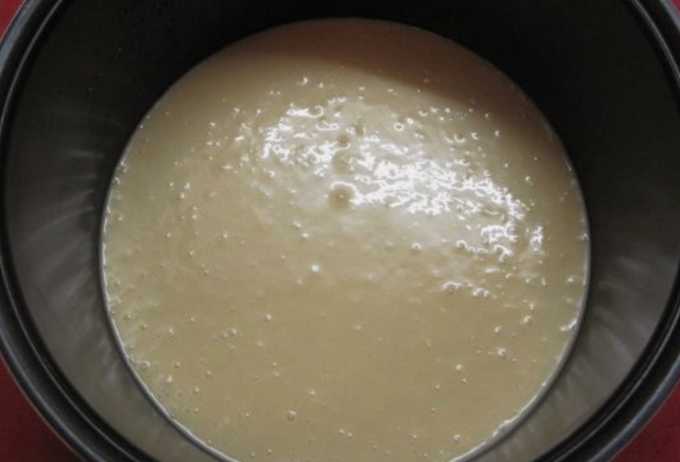
- We lubricate the inner walls of the multicooker bowl with vegetable oil using a silicone brush. Pour the prepared dough into it. We put the bowl in a multicooker and select the “Baking” mode for 60 minutes. When fifty minutes have passed from the start of the program, open the device and lightly press with your finger on the surface of the biscuit. If it is moist and damp, continue baking and repeat the doneness test a little later. If the dough is dry and baked, the biscuit is ready.
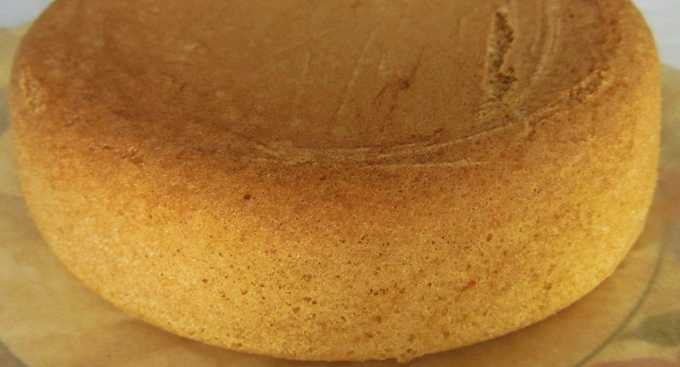
- We leave the finished biscuit in the bowl with the lid of the multicooker open for five minutes so that the product cools slightly. Then we draw a thin spatula between the walls of the form and the biscuit. Turn the product from the bowl onto the wire rack upside down and let it cool completely. The cooled biscuit can be used both for making a cake and as an independent dessert by cutting it into portions and sprinkling with powdered sugar.
Bon Appetit!
Step-by-step recipe for making a fluffy sponge cake on kefir
The kefir sponge cake has a more moist and softer texture than its classic version. It is also noticed that the pores in the crumb are larger - this is the "work" of the fermented milk product. Such a biscuit is equally good in cakes, and in assorted cakes, and as an independent dessert. For those who do not like dense dry biscuits, this alternative should be to their liking.
Cooking time: 50 min.
Cooking time: 20 min.
Servings: 6.
Ingredients:
- Flour - 280 gr.
- Baking powder - 2 tsp
- Kefir - 250 ml.
- Soda - ½ tsp
- Vanillin - a pinch.
- Granulated sugar - 200 gr.
- A pinch of salt.
- Eggs - 3 pcs.
- Vegetable oil - for lubrication.
Cooking process:
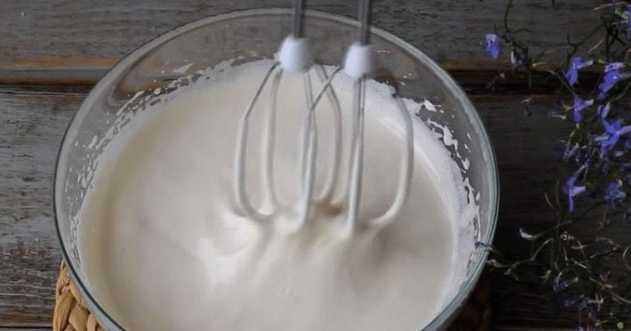
- Break eggs into a large bowl, add granulated sugar, vanillin and a pinch of salt to them. Beat everything with a mixer until a lush light foam is made. We make sure that the sugar crystals are completely dissolved. It is important to devote at least five to six minutes to the whipping process. A well-beaten egg base of the dough will provide the finished biscuit with splendor and porosity.
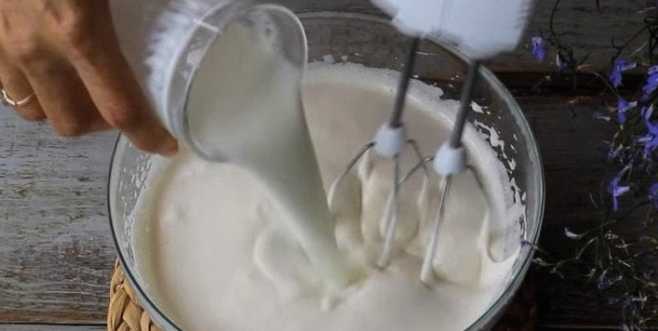
- Pour kefir into the egg mass, mix until smooth.
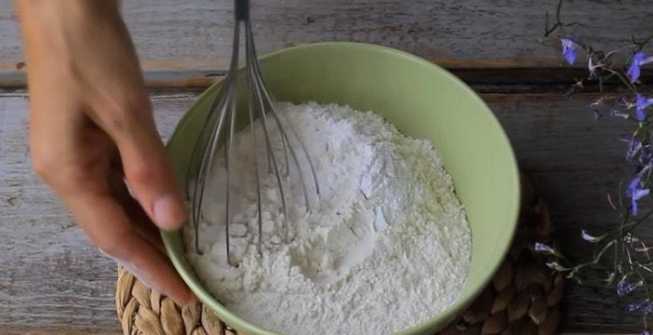
- Sift the flour through a fine sieve along with baking powder, salt and soda. Add the dry mixture to the kefir-egg mass. Knead the dough with a whisk in a circular motion. We try not to precipitate the mass and keep the air bubbles formed during whipping in it as much as possible. At the same time, it is important to break up all the flour lumps and achieve uniformity.
- We lubricate the inner walls of the multicooker bowl with a thin layer of vegetable oil using a silicone brush. Pour the prepared dough into it. We put the bowl in a multicooker and select the “Baking” mode for 50 minutes. When forty minutes have passed from the start of the program, open the device and lightly press with the pad of your finger on the surface of the biscuit. If it is moist and damp, continue baking and repeat the doneness test a little later. If the dough is dry and baked, the biscuit is ready.
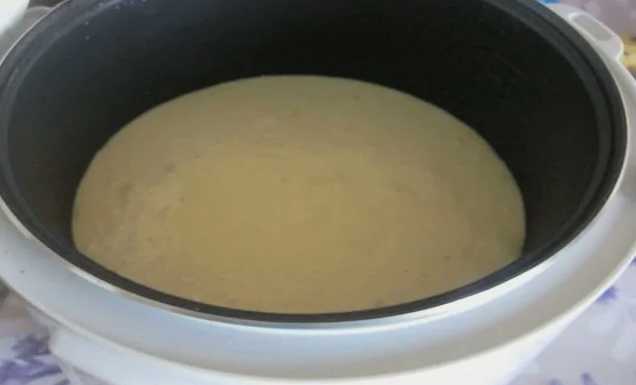
- We leave the finished biscuit in the bowl with the lid of the multicooker open for five minutes, so that the product cools slightly and slightly moves away from the walls of the form. Then we draw a thin spatula between the walls of the bowl and the biscuit. Turn the product from the bowl onto the wire rack upside down and let it cool completely. We use the cooled biscuit as intended.
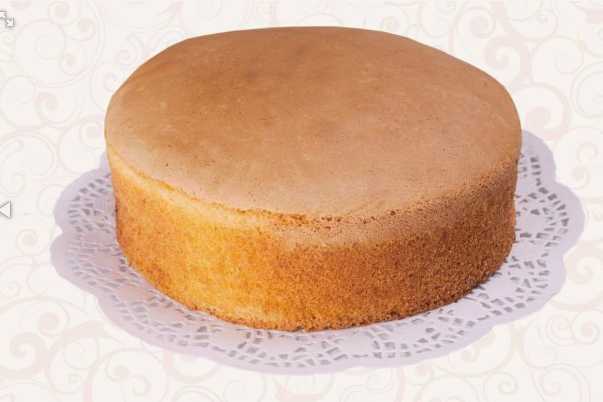
Bon Appetit!
A simple and delicious recipe for honey sponge cake in a slow cooker
Honey baked goods can always be recognized by their characteristic flavor nuance, dark caramel shade and crumbly texture. This sponge cake baked in a slow cooker is no exception.It has a beautiful rich golden color, with a delicate honey flavor and incredibly delicate, porous crumb. Such a biscuit readily absorbs any impregnations and creams, since it is quite dry in itself. If you plan to use it as an independent baking, then we recommend using any syrup for impregnation, including from liquid jam.
Cooking time: 1 hour 20 minutes.
Cooking time: 20 min.
Servings: 6.
Ingredients:
- Honey - 230 gr.
- Eggs - 4 pcs.
- Flour - 320 gr.
- Baking powder - 1.5 tablespoons
- Granulated sugar - 200 gr.
- Vegetable oil - 2 tsp
- Flour - for sprinkling the bowl.
- Powdered sugar - for decoration.
Cooking process:
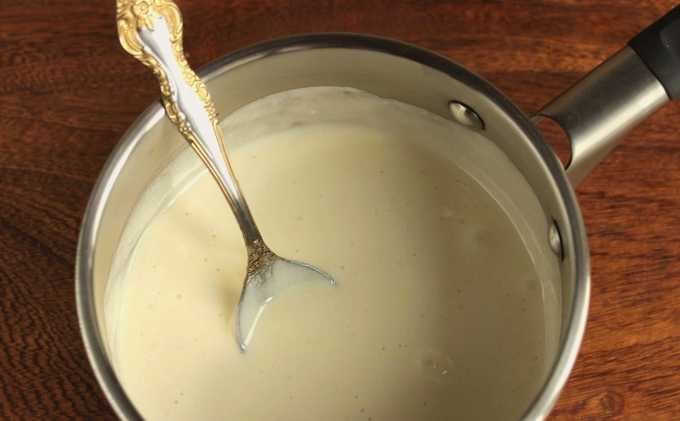
- We measure the required amount of honey and transfer it to a saucepan.
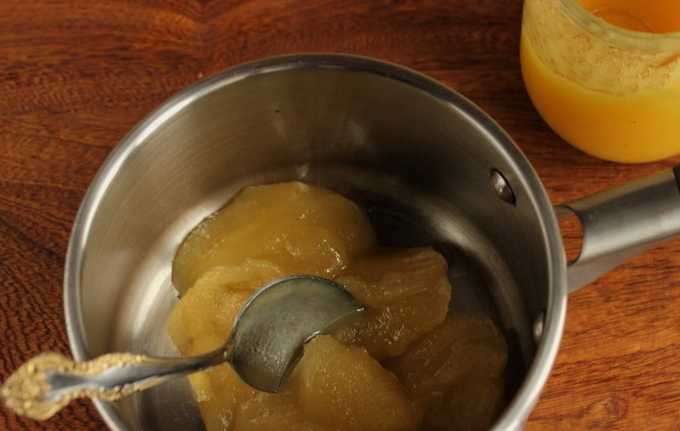
- Pour baking powder on top of the honey immediately. Its amount is quite large, but in the finished biscuit it does not give any off-flavor.
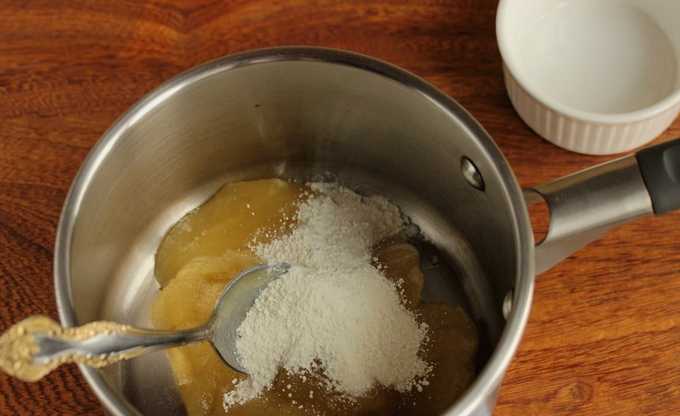
- Melt honey until liquid on the stove, stirring continuously. The mass will become thick, homogeneous and foamy, and will increase in volume. When the mixture is completely white, remove it from the stove.
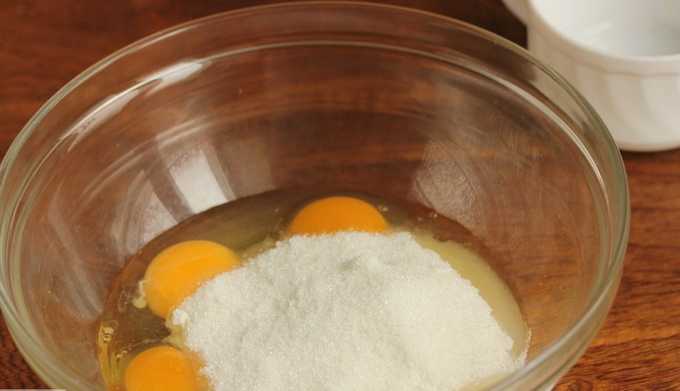
- Break eggs into a large bowl.

- Add granulated sugar to them.
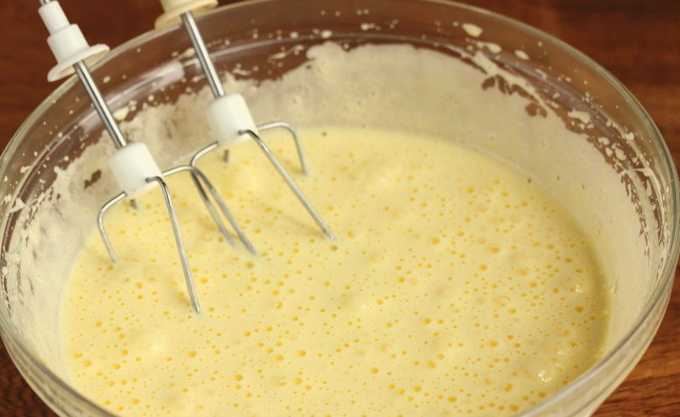
- Beat everything together with a mixer until a fluffy light foam. We make sure that the sugar crystals are completely dissolved. It is important to devote at least five to six minutes to the whipping process. The beaten eggs should double to three times in volume.
- Pour the cooled honey mass with baking powder into the egg foam.
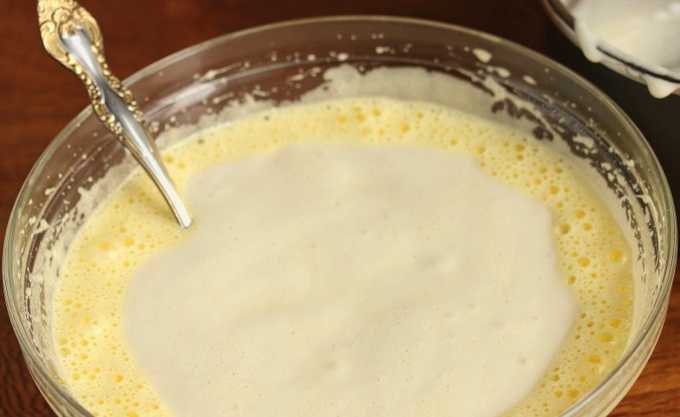
- We work again with a mixer for a couple of minutes.
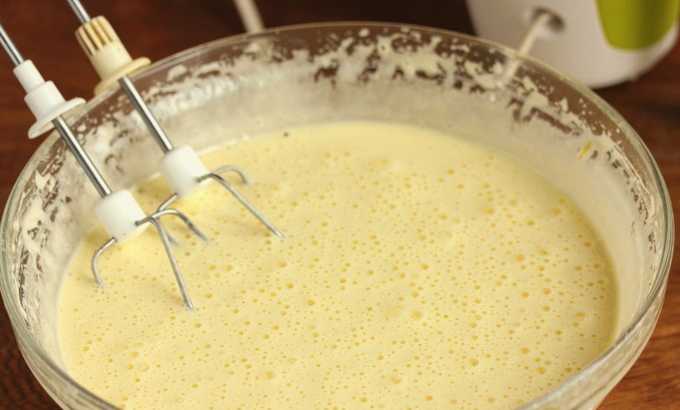
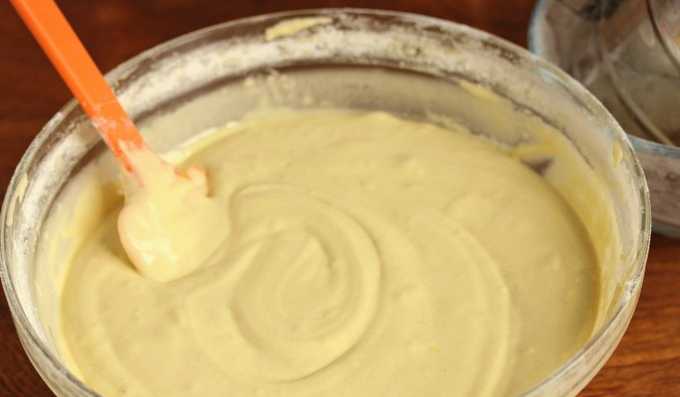
- Sift the flour through a fine sieve and add it to the egg-honey mass. Knead the dough with a spatula in a circular motion. We try not to precipitate the mass and keep the air bubbles formed during whipping in it as much as possible. At the same time, it is important to achieve uniformity.
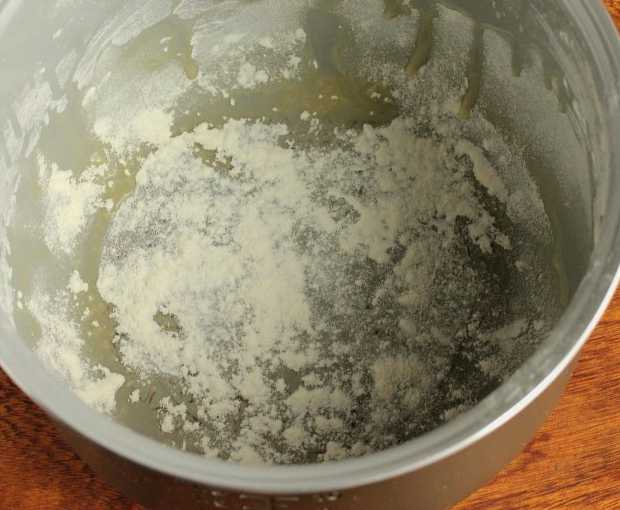
- We lubricate the inner walls of the multicooker bowl with a thin layer of vegetable oil using a silicone brush. Sprinkle flour on the fat walls.
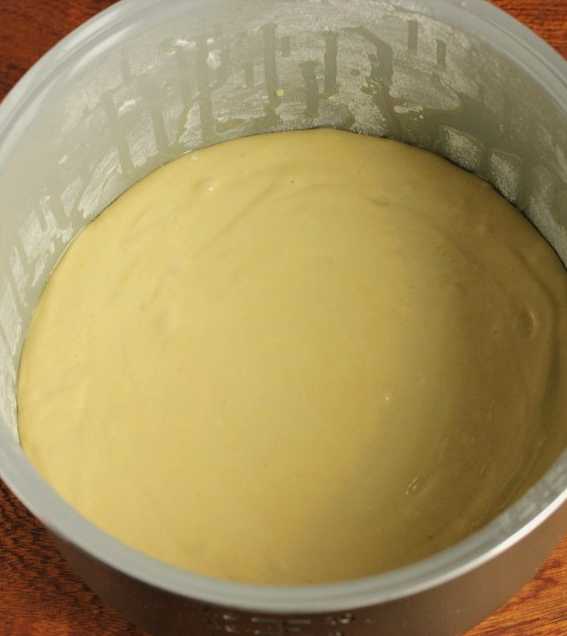
- Pour the prepared dough into the bowl. We install it in the multicooker and select the “Baking” mode for 1 hour 20 minutes. The baking time may vary depending on the power of the multicooker.
- When an hour has passed from the start of the program, open the lid and lightly press with the pad of your finger on the surface of the biscuit. If it is moist and damp, continue baking and repeat the doneness test a little later. If the dough is dry and baked, the biscuit is ready.
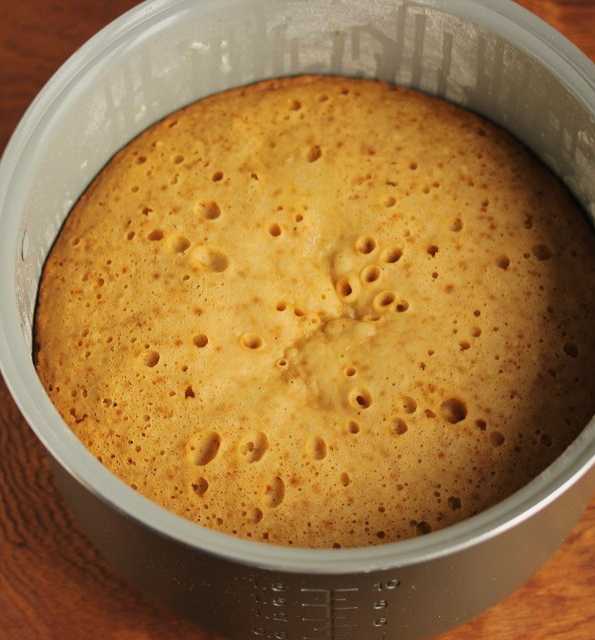
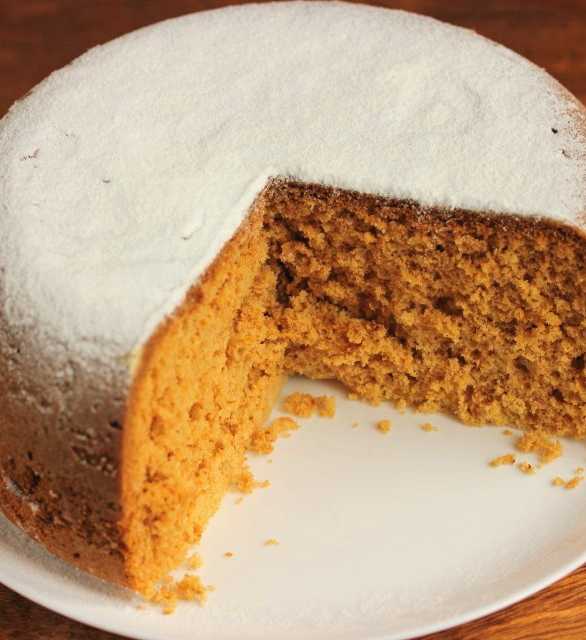
- Remove the finished biscuit from the bowl by turning it upside down. Place the item on the wire rack and let it cool completely. We use the cooled biscuit as intended. If it is self-serving, then you can sprinkle the surface with powdered sugar for decoration.
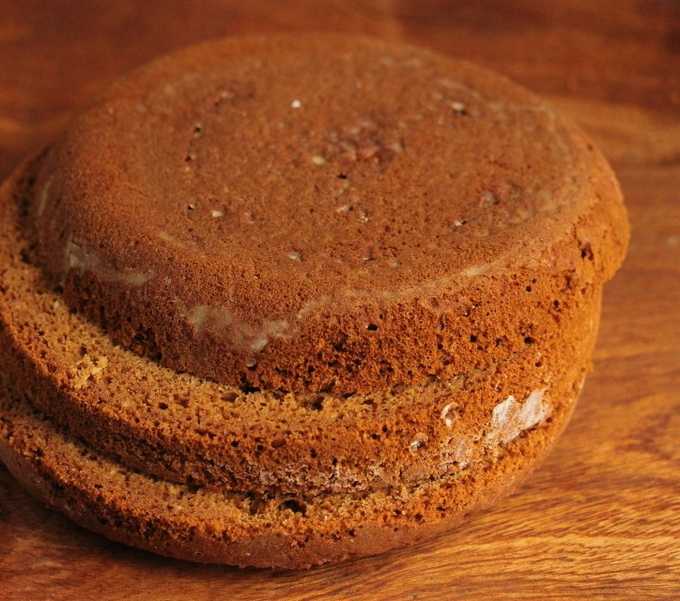
- If you plan to use a biscuit for a cake, then cut it into horizontal cakes.
Bon Appetit!
Lush sponge cake in a multicooker Polaris
The multicooker is just the perfect kitchen gadget for biscuits. Many housewives prefer her when it comes to baking airy porous dough. Uniform contact heating and maintaining a certain level of humidity work wonders - the biscuits are excellently baked and rise. Round bowl - optimal shape: After baking, the biscuit can be cut into traditional cake layers without adjusting. As a rule, after cooking, the biscuit must be allowed to cool and stand for several hours at room temperature - the crumb stabilizes and it is much easier to cut it. In this recipe, we cook a biscuit in a Polaris multicooker with a power of 860 W and a bowl volume of five liters.
Cooking time: 60 min.
Cooking time: 20 min.
Servings: 6.
Ingredients:
- Eggs - 4 pcs.
- Granulated sugar - 200 gr.
- Vanillin - a pinch.
- Flour - 160 gr.
- Butter - for lubrication.
Cooking process:
- The first step is to break the eggs and separate the whites from the yolks. We place the proteins in a volumetric container and beat them with a mixer at high speed. We work with whisks until a dense, stable foam is obtained, leaving elastic peaks.Next, add granulated sugar and vanillin to the whipped proteins. We continue to beat until the crystals are completely dissolved. It is important to devote enough time to the whipping process - this directly affects the splendor and overall quality of the biscuit.
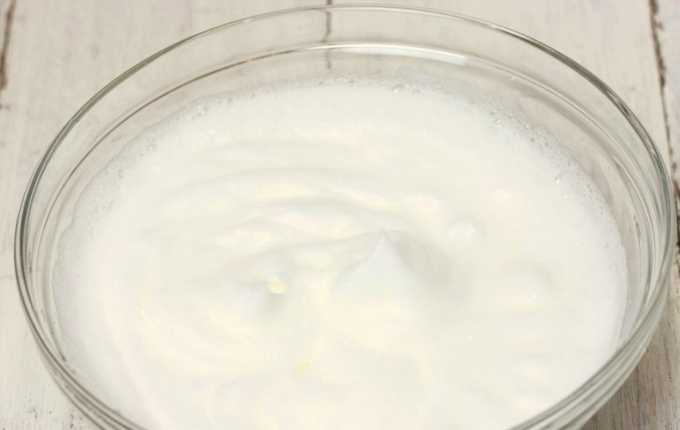
- Then add one yolk to the protein foam, continuing to work with a mixer. After the introduction of the yolks, the mass should still remain light, with a light beige tint, and lush.
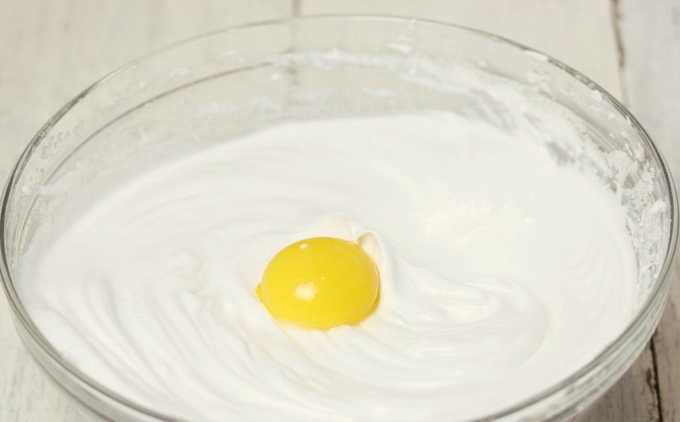
- Sift the flour through a fine sieve and add small portions to the egg mass. After each addition, gently knead with a spatula or spoon in a circular motion, lifting the bottom layer of the dough up. We no longer use the mixer so as not to precipitate the dough with a fast working speed when adding flour.
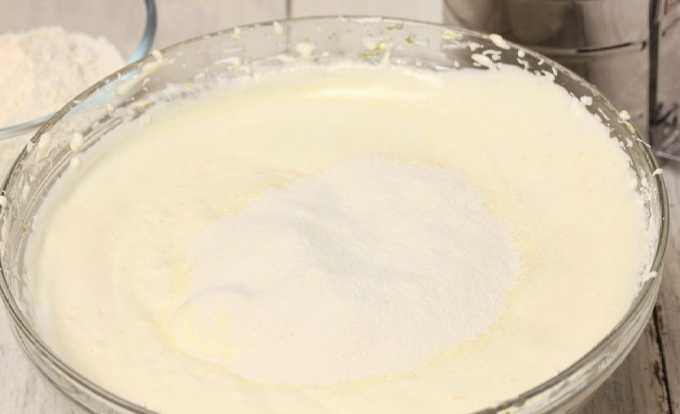
- The finished dough should have a light and fluffy consistency, be completely homogeneous, without lumps and grains.

- Lubricate the inner walls of the multicooker bowl with a thin layer of butter.
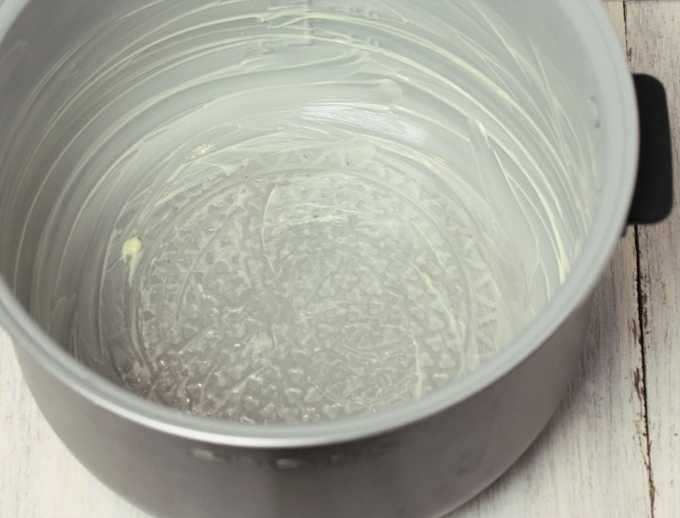
- Then we spread the prepared dough.
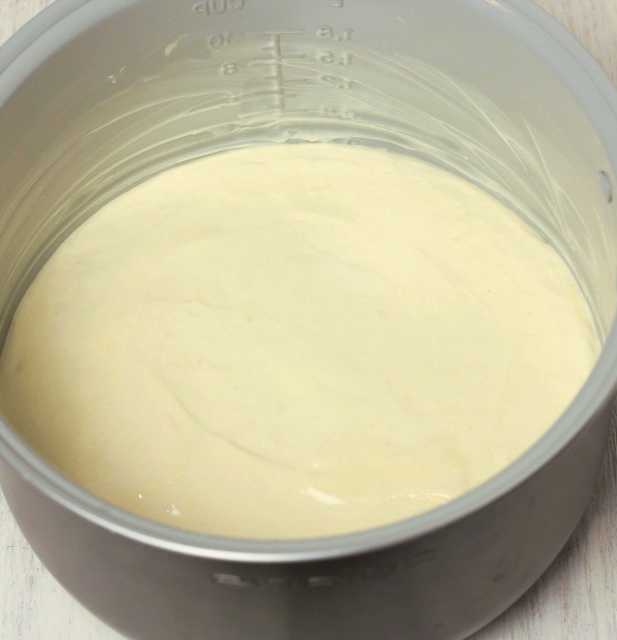
- We put the bowl in a multicooker and press the “Baking” mode for 60 minutes. After the program has run out, open the lid of the appliance and let off steam. Let the finished biscuit stand for a couple of minutes in the bowl so that the crust comes off the walls more easily.
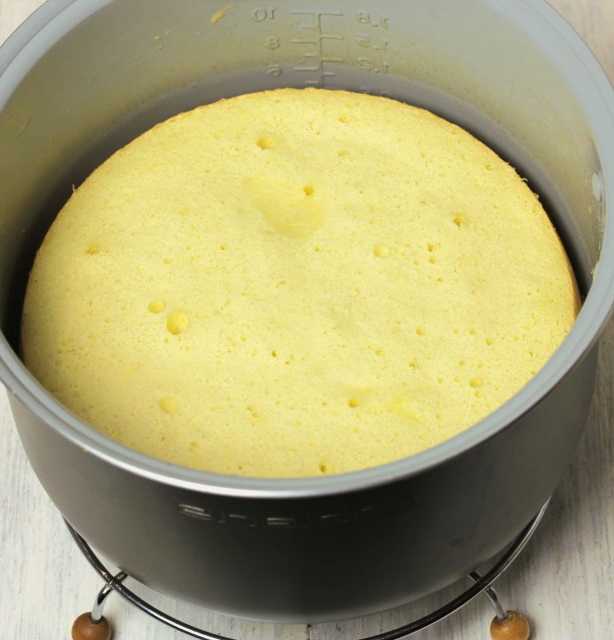
- Separate the baked goods from the sides of the bowl by holding a thin spatula between them and the biscuit. Turn the product from the bowl onto the wire rack upside down and let it cool completely.
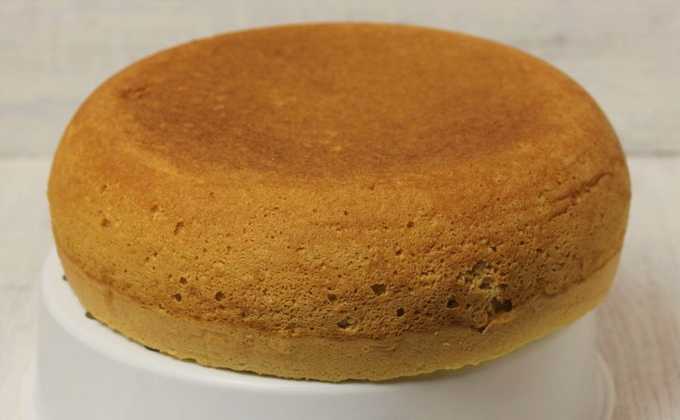
- We keep the biscuit at room temperature for two to three hours, having previously wrapped in a film. After this time, the biscuit will become more stable and it will be easy to cut it with a foot into the required amount of cakes.
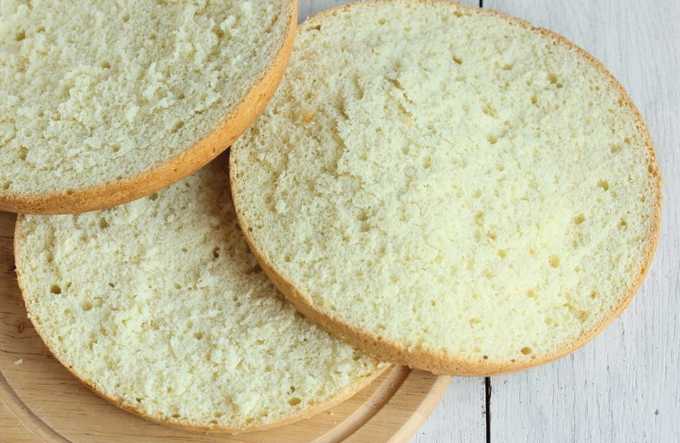
Bon Appetit!
Step-by-step recipe for making biscuit with apples in a slow cooker
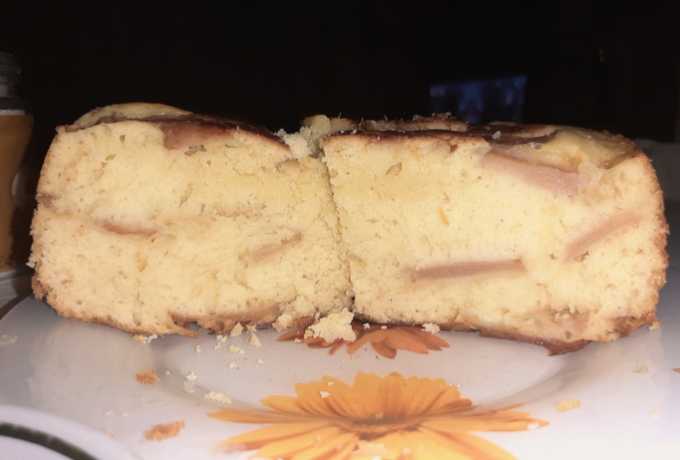
If you want to enjoy filled biscuits, you don't have to make a cake. You can choose a less laborious, but no less tasty option. For example, a biscuit with apples. Fruit slices will add juiciness and texture to baked goods, and the product can already be considered a full-fledged cake. At the same time, the hassle for its preparation is a minimum. We add sour cream and butter to the composition of the biscuit - this will provide additional juiciness and softness to the baked goods, and at the same time will allow the dough to fully bake, despite contact with wet fruits.
Cooking time: 60 min.
Cooking time: 20 min.
Servings: 6.
Ingredients:
- Chicken eggs - 3 pcs.
- Butter - 120 gr.
- Sour cream - ½ tbsp.
- Flour - 2 tbsp.
- Granulated sugar - 1 tbsp.
- Baking powder - 10 gr.
- Cinnamon to taste.
- Apples - 4-5 pcs. small size.
- Lemon - 1 pc.
- A pinch of salt.
Cooking process:
- We turn on the multicooker, for example, in the "Baking" mode - you just need to warm up the bowl. Put butter in it and melt it to a liquid state. The melted butter will go further to make the dough, and the bowl will already be greased with fat for subsequent baking.

- We break the eggs into a large bowl, in which we will knead the dough. Pour granulated sugar into them, pour in melted butter. Begin to beat with a mixer at low speed. We achieve mixing of ingredients and dissolution of sugar grains.
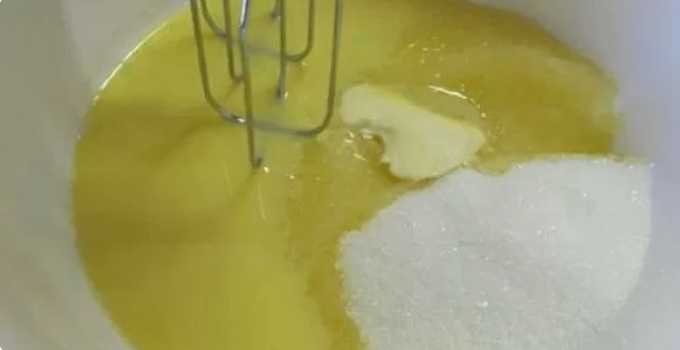
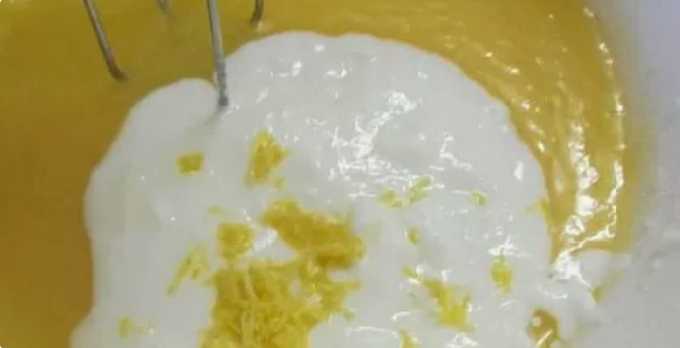
- Add sour cream to the resulting mass. We wash the lemon, dry it and remove the zest from it with a special device or with an ordinary fine grater. We survive the juice - you need one tablespoon of it. Pour the zest after the sour cream into the egg mass, pour in the juice. Turn on the mixer again and mix everything together at medium speed.
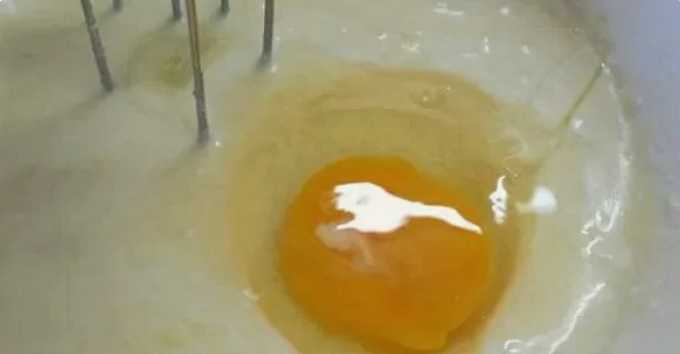
- Add all the eggs by the piece, beating thoroughly after each addition. We work with a mixer already at high speed in order to add more air to the mass and achieve splendor.
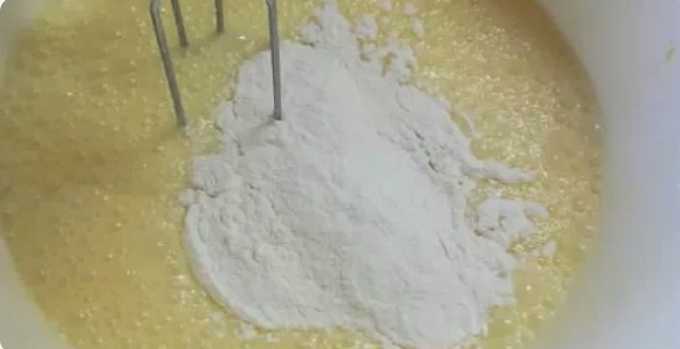
- Sift the flour through a fine sieve along with baking powder and salt. Add the dry mixture to the egg mass. Mix the flour into the dough with a mixer at medium speed. The resulting consistency is fluid, airy, of medium density.
- Rinse the apples, dry them and cut them into quarters. Cut out the seed pods. Next, cut the quarters into thin slices.We put half of the total number of slices in the already oiled multicooker bowl. Sprinkle with cinnamon powder.

- Fill the apples with half of the total dough. Then place the remaining apple slices on top and cover them with the second part of the dough.
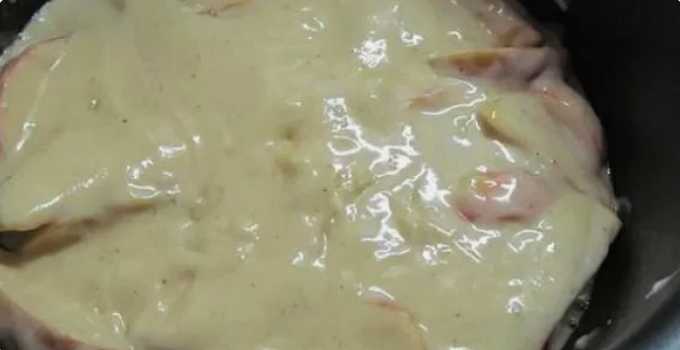
- We put the bowl in a multicooker and press the “Baking” mode for 45 minutes. After the program has expired, turn off the device, but do not open the lid for another 15 minutes. Then we take out the bowl and separate the baked goods from the walls, holding a thin spatula between them and the biscuit. Turn the product from the bowl onto the wire rack upside down and let it cool completely.
Bon Appetit!
Airy chiffon sponge cake cooked in a multicooker
Chiffon biscuit differs from the classic one in its special texture. The crumb turns out to be incredibly tender, melting in the mouth, fine-pored and airy. This is achieved, firstly, by introducing a combination of vegetable oil and water into the dough. And, secondly, by stage-by-stage high-quality whipping. In principle, it is difficult to prepare any biscuit without a powerful mixer. And chiffon and even more so. You can bake this product both in a multicooker and in a conventional oven.
Cooking time: 50 min.
Cooking time: 20 min.
Servings: 6.
Ingredients:
- Flour - 175 gr.
- Egg whites - 6 pcs.
- Egg yolks - 4 pcs.
- Vegetable oil for dough - 85 ml.
- Granulated sugar - 185 gr.
- Vanillin - a pinch.
- A pinch of salt.
- Water - 115 ml.
- Baking powder - 0.3 tsp
- Vegetable oil - for lubrication.
Cooking process:
- We prepare products for the dough. We measure out the required amount of granulated sugar, water and vegetable oil. Eggs for dough should be well chilled.

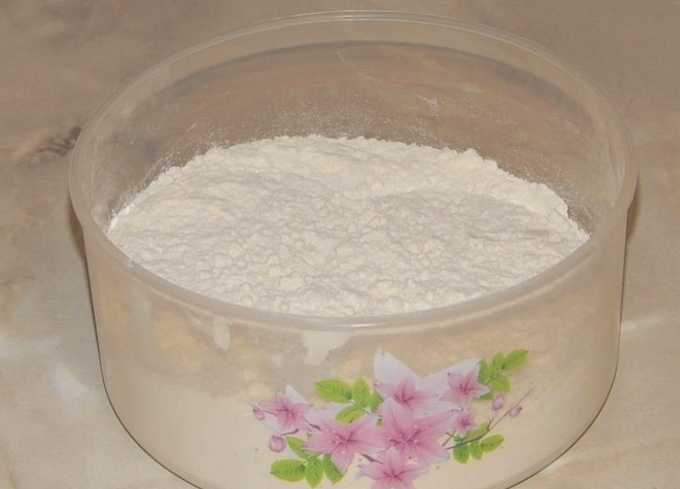
- Sift the flour through a fine sieve to loosen it and enrich it with air.
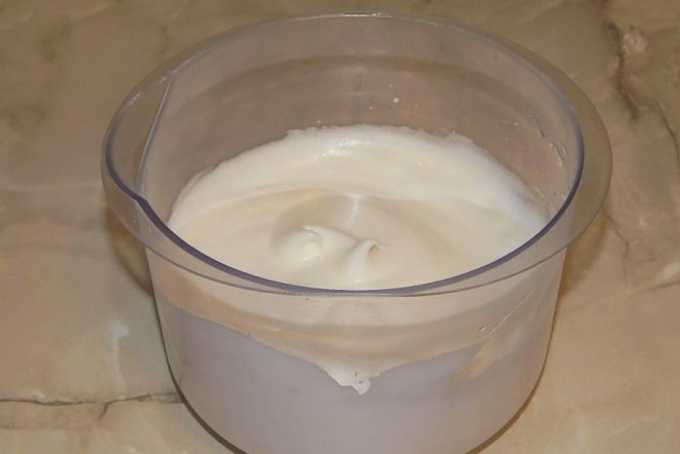
- Break the eggs and separate the whites from the yolks. Please note that the test requires 6 proteins and 4 yolks. We place the proteins in a volumetric container and beat them with a mixer at high speed. We work with whisks until you get a dense, stable foam that leaves peaks.
- Put yolks and granulated sugar in a separate container. Beat with a mixer for at least five minutes.
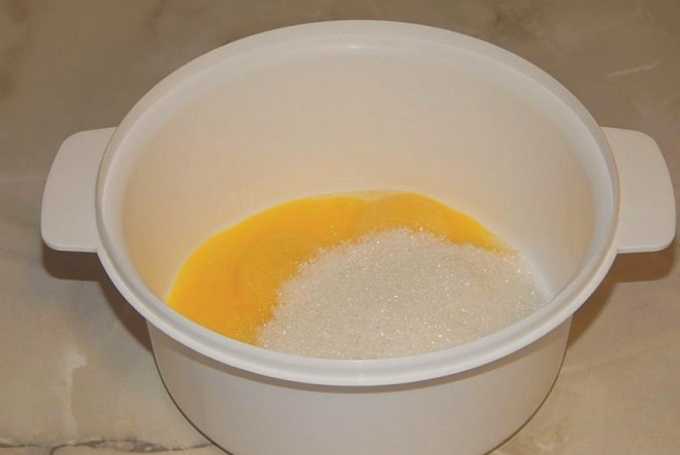
- The whipped yolks should become a lush, light-colored, gooey mass.
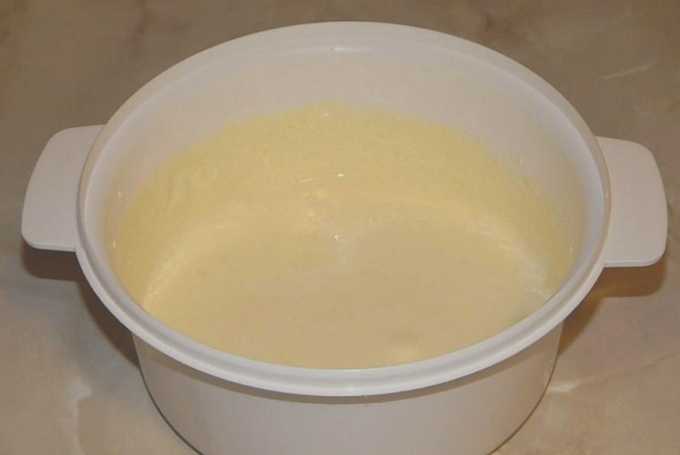
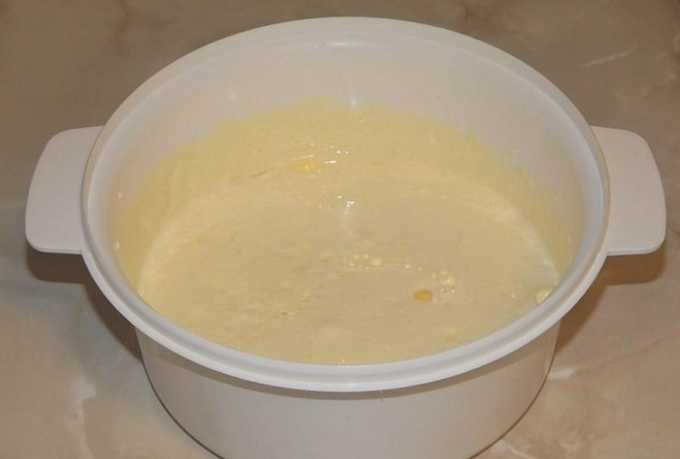
- Introduce water and vegetable oil into the whipped yolks in a thin stream alternately. Beat with a mixer at high speed until fully connected.
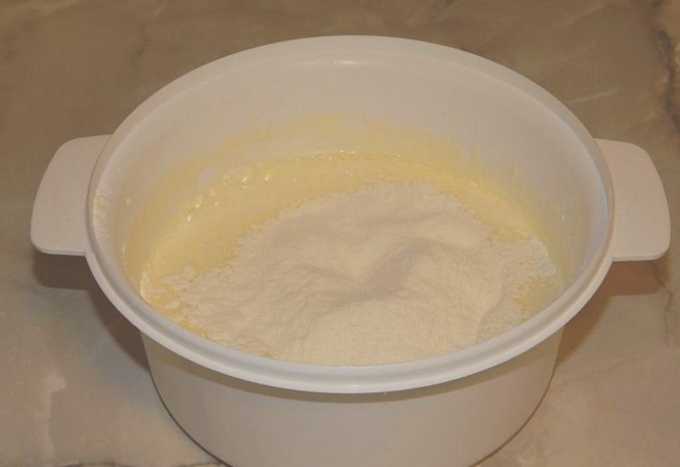
- Add the sifted flour together with the baking powder to the yolk mass and gently knead with a spatula.
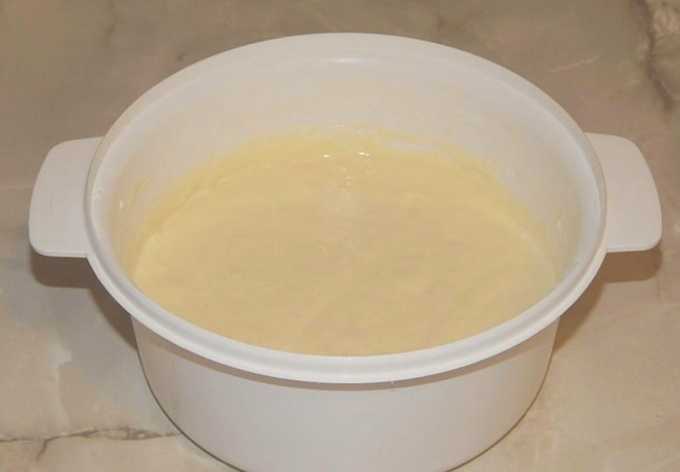
- Stir all the lumps and achieve uniformity.
- We introduce the whipped proteins in parts and also gently knead with a spatula or spoon in a circular motion, lifting the bottom layer of the dough up. It is important not to precipitate the proteins, to keep the air bubbles formed during whipping in them.
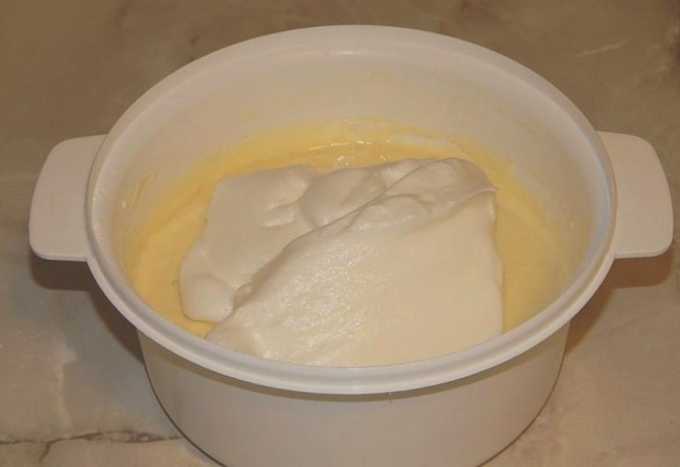
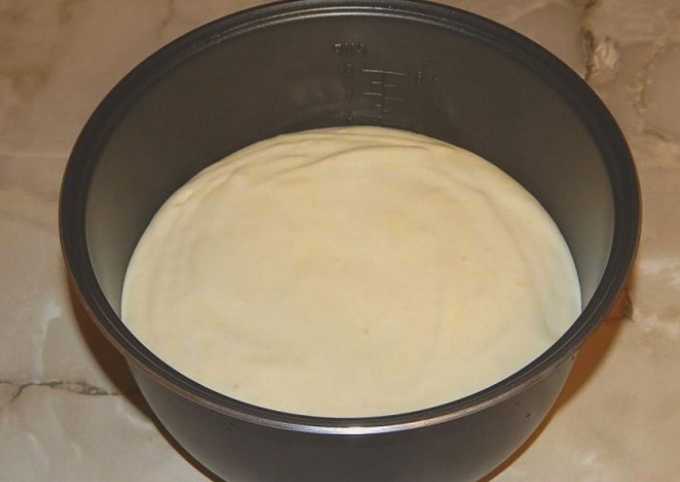
- We lubricate the inner walls of the multicooker bowl with vegetable oil using a silicone brush. We spread the prepared dough into it. We put the bowl in a multicooker and select the “Baking” mode for 50 minutes. After the program has run out, open the lid and let the steam go out.
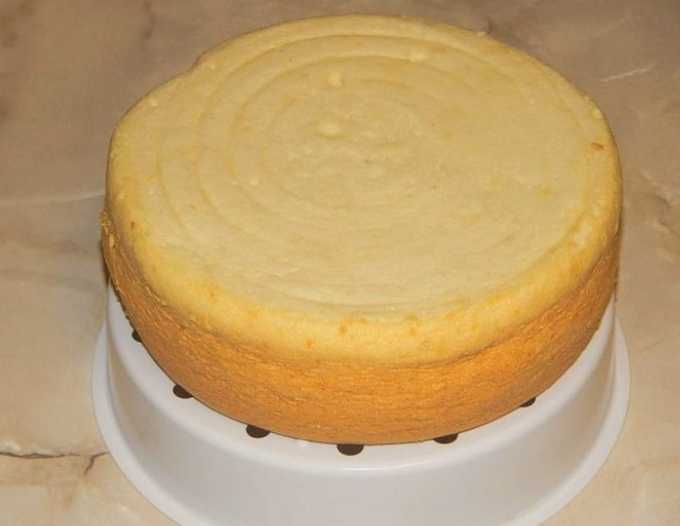
- We leave the finished biscuit in the bowl with the lid of the multicooker open for five minutes to make it easier to separate it from the walls of the bowl. Then we pass between them and the biscuit with a thin spatula. Turn the product from the bowl onto the wire rack upside down and let it cool completely.
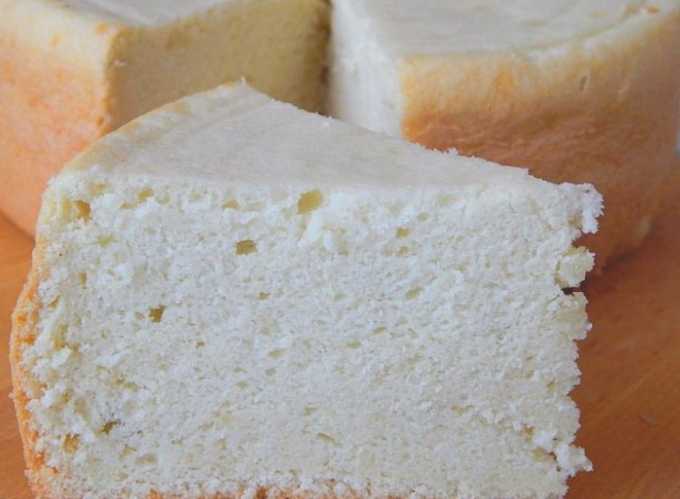
- The cooled chiffon biscuit can be used to make a cake by cutting it into several horizontal cakes. You can also serve pastries as an independent dessert, cut them into portions and sprinkle with powdered sugar for decoration.
Bon Appetit!
Homemade sponge cake with lemonade in a slow cooker
Lemonade can be a great base for making biscuits. Carbonated drink - and this is perfect for air baking. It is important to open the lemonade just before adding it to the dough so that air bubbles do not have time to escape. Also, when choosing lemonade for a biscuit, pay attention to its color: options with a bright color will not work, because during the baking process, the tone of the baking will change unpredictably.A drink with a pale light yellow color such as Pinocchio, Duchess, Cream soda and the like is suitable.
Cooking time: 60 min.
Cooking time: 20 min.
Servings: 6.
Ingredients:
- Lemonade - 1 tbsp
- Flour - 1 tbsp.
- Granulated sugar - 1 tbsp.
- Vegetable oil - ½ tbsp.
- Eggs - 4 pcs.
- Baking powder - 1.5 tsp
- Vegetable oil - for lubrication.
Cooking process:
- Break the eggs into a large bowl and beat them with a mixer until smooth. Then add granulated sugar and continue beating until the sugar crystals dissolve and the total mass becomes lush and light.
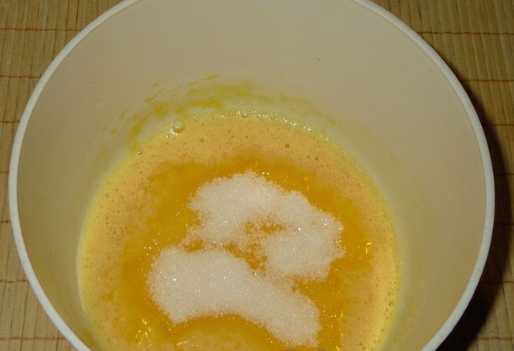
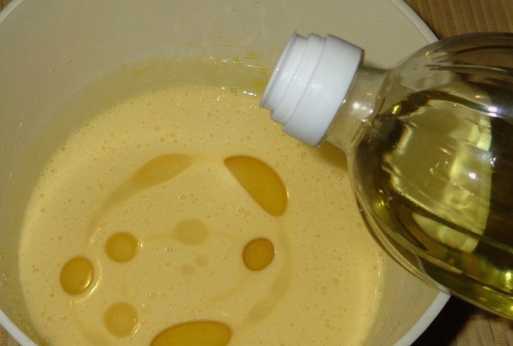
- Then we add odorless vegetable oil to the egg foam in a thin stream, we continue to work with a mixer.
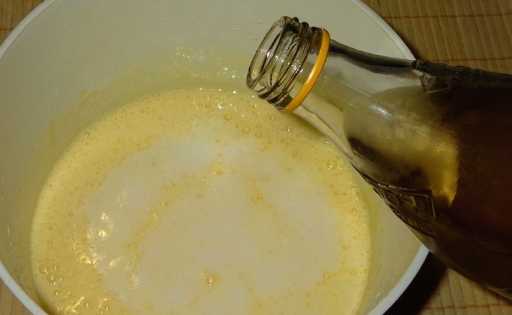
- Uncork the lemonade and immediately pour it into the egg-oil mass in the right amount. Stir until smooth.
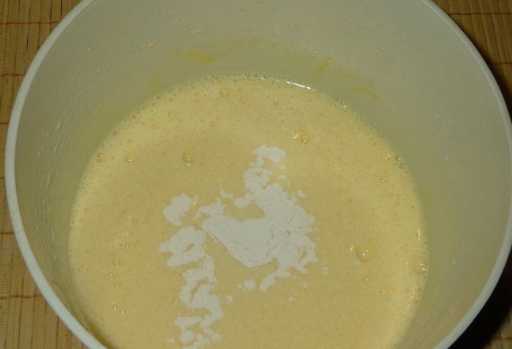
- Pour in baking powder, mix thoroughly.
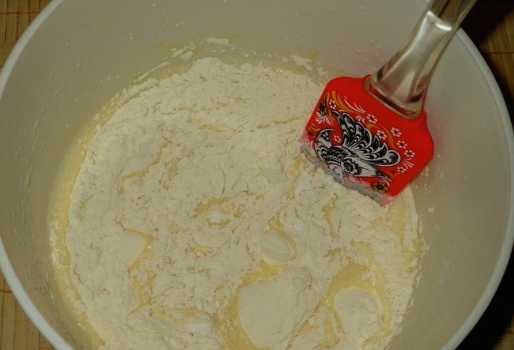
- Sift the flour through a fine sieve and add small portions to the resulting mass. After each addition, gently knead with a spatula or spoon in a circular motion, lifting the bottom layer of the dough up. We no longer use the mixer, so as not to precipitate the dough at a fast working speed and to keep air bubbles inside the dough as much as possible. The finished mass should have a light and fluffy consistency, be completely homogeneous, without lumps and grains.
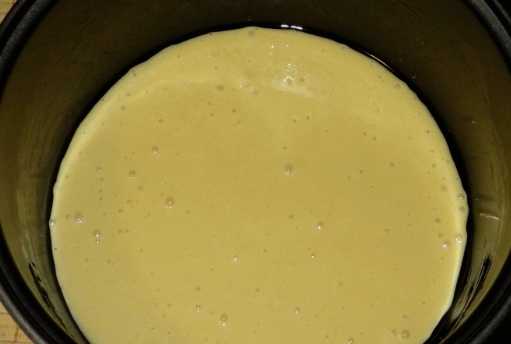
- Grease the inner walls of the multicooker bowl with a thin layer of butter and put the prepared dough into it.
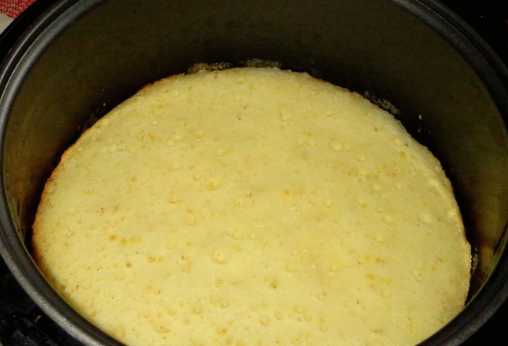
- We put the bowl in a multicooker and press the “Baking” mode for 60 minutes. At the end of the program run time, open the lid, but do not reach the bowl. Let the finished biscuit stand in this state for fifteen to twenty minutes. The product will cool down a little, and the crust will come off the walls more easily.
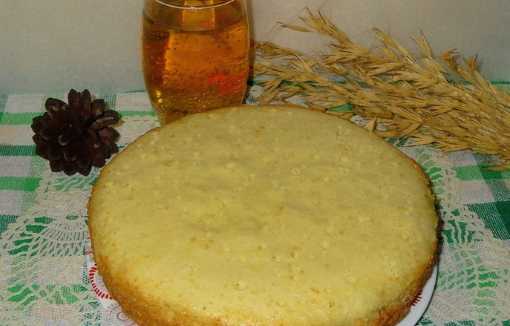
- Separate the biscuit from the sides of the bowl by holding a thin spatula between them and the biscuit. Turn the pastries from the bowl onto the wire rack upside down and let cool completely. The finished product has a rather dry and crumbly crumb. If you plan to serve baked goods on their own, then it is worth soaking it with a small amount of syrup or any other sweet liquid.
Bon Appetit!

